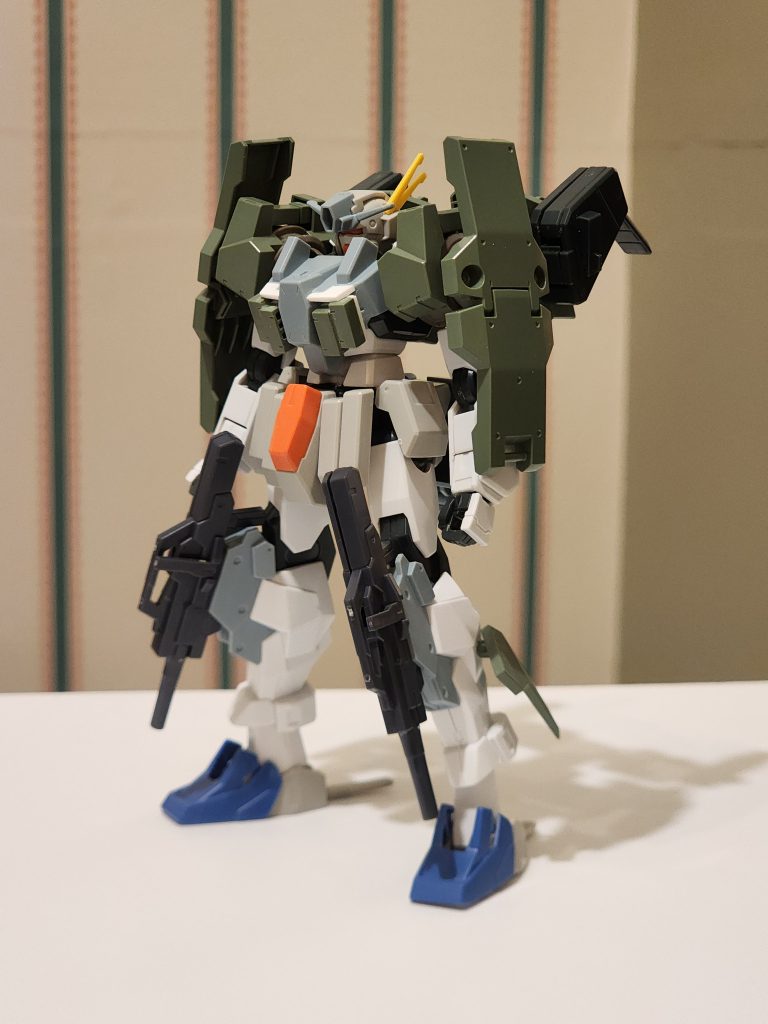
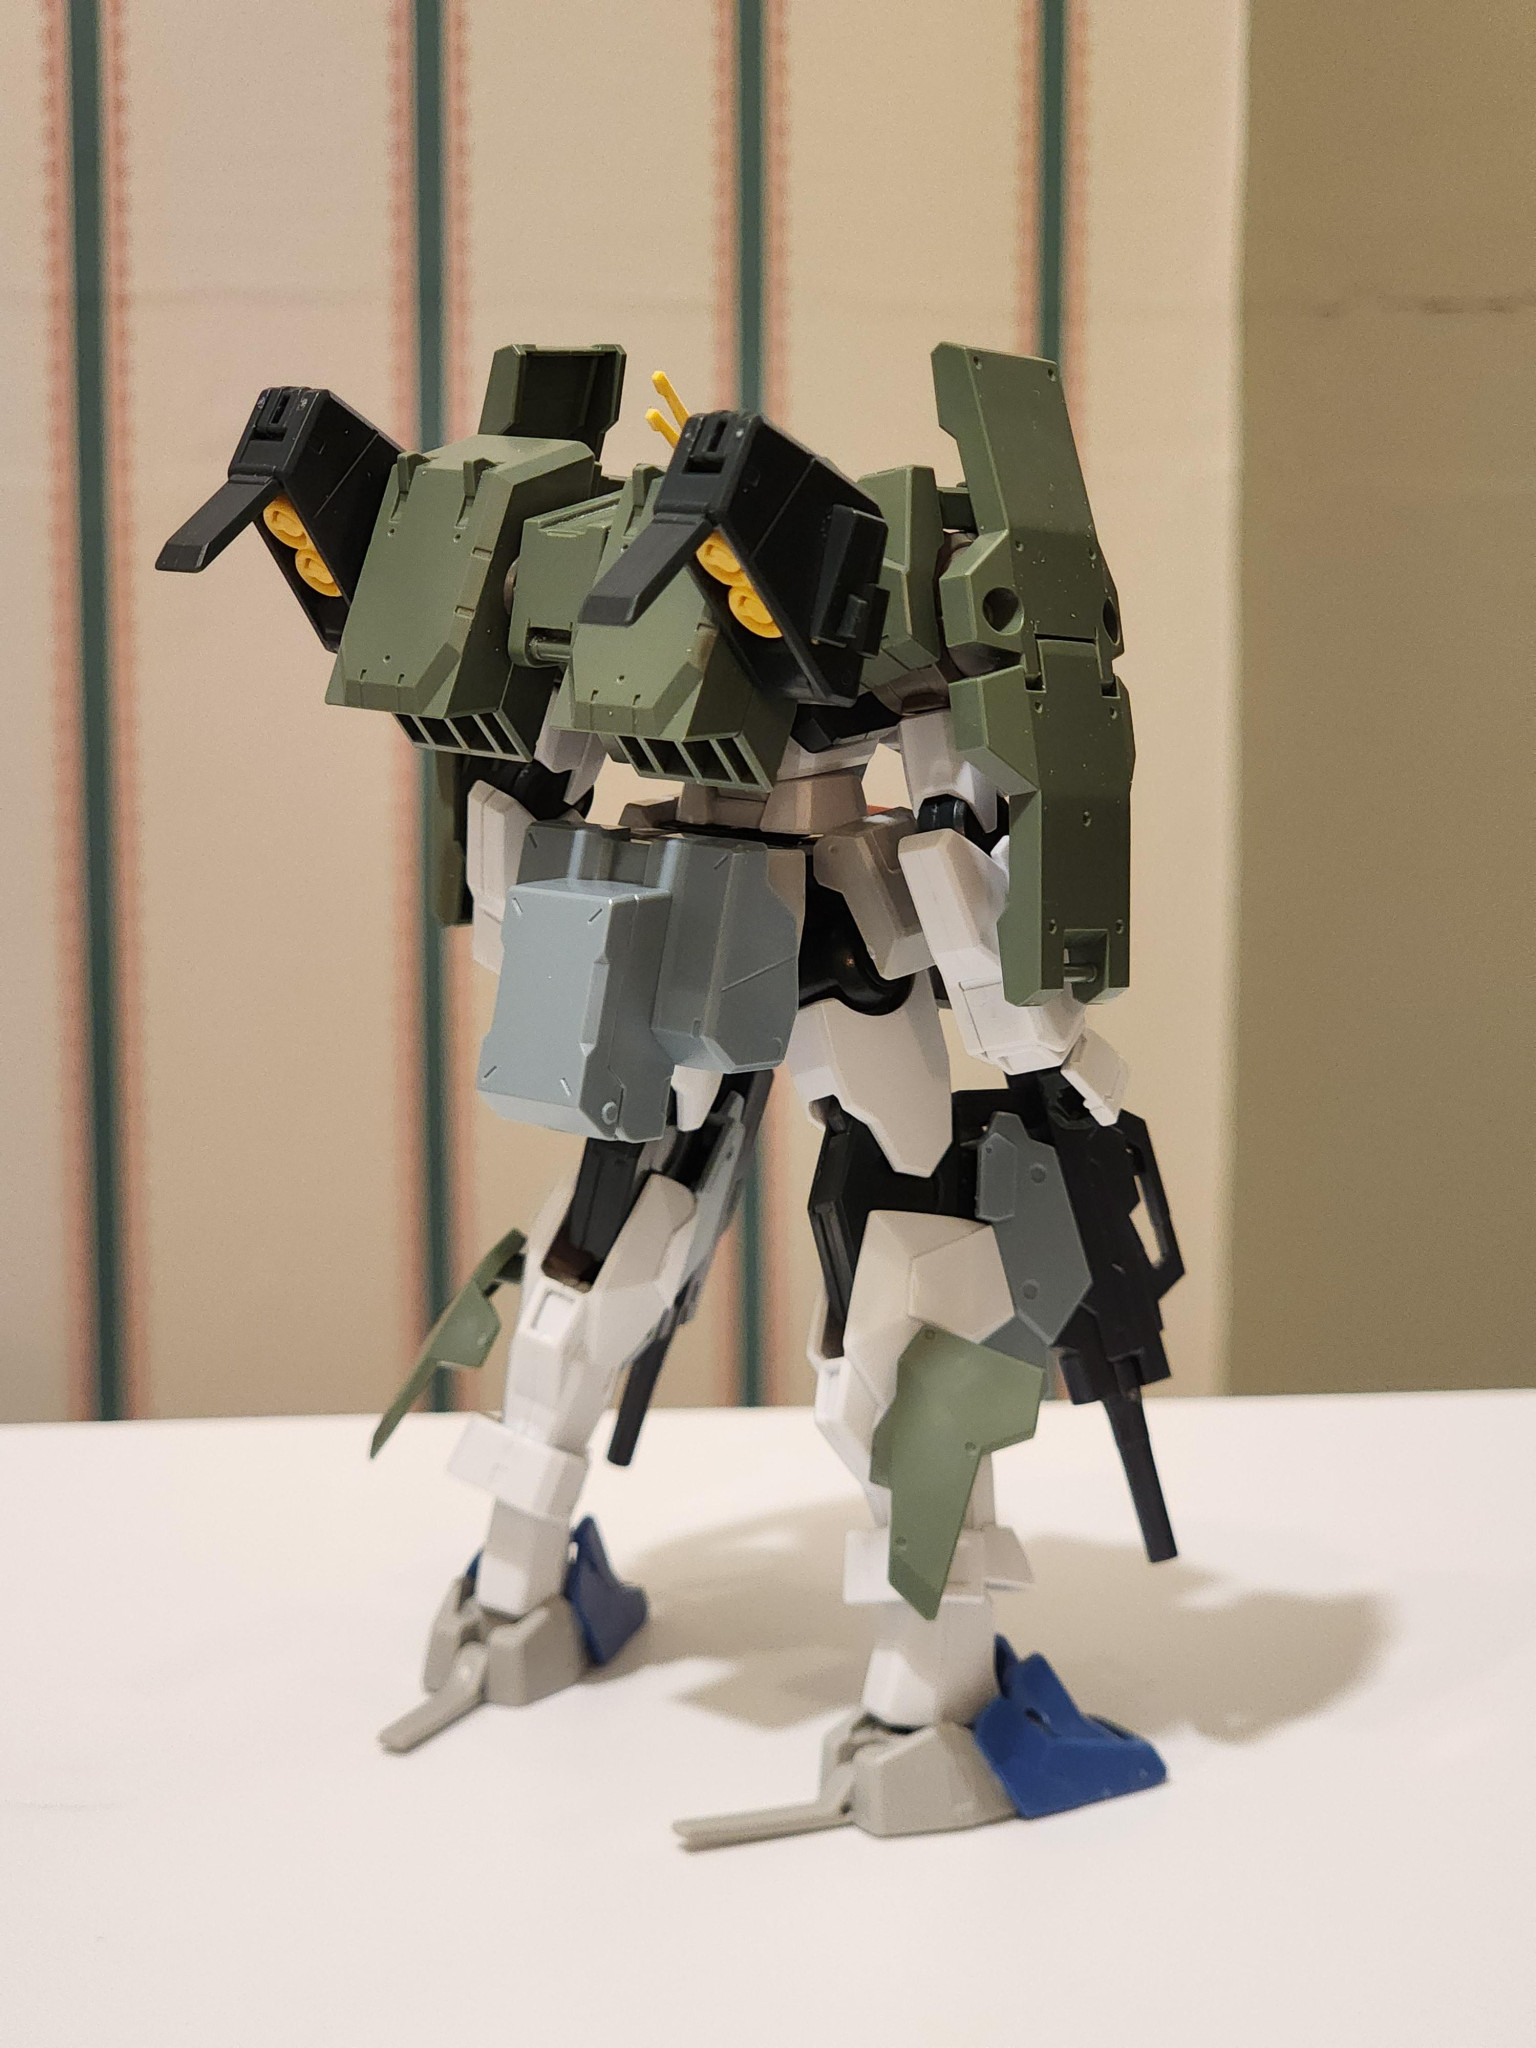
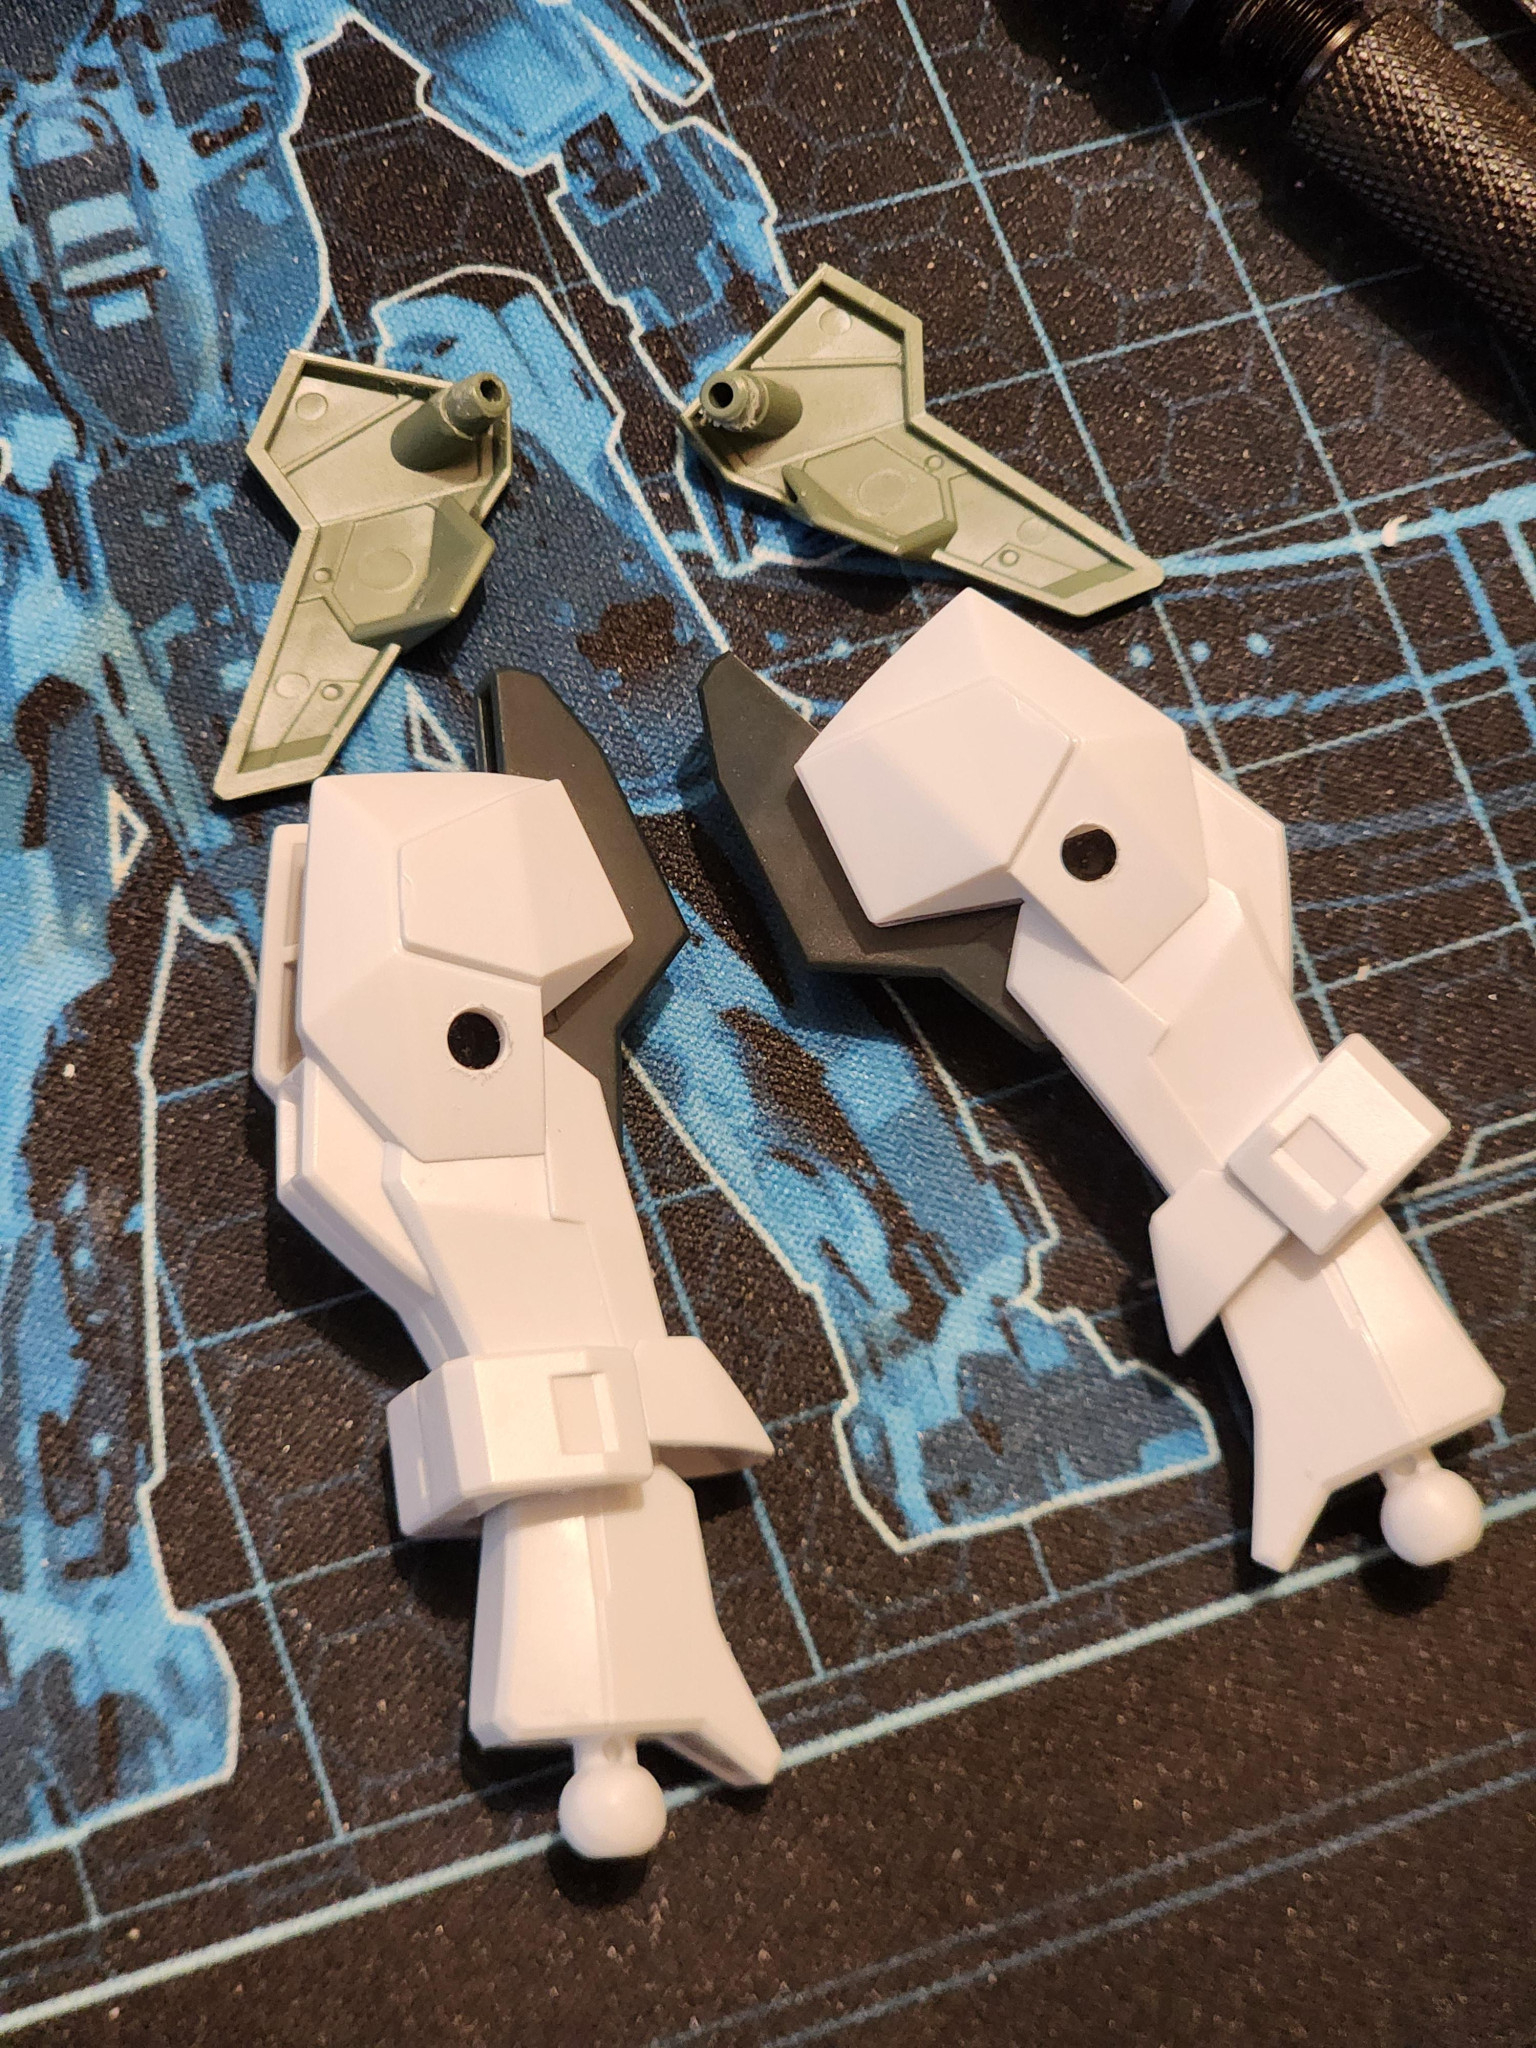
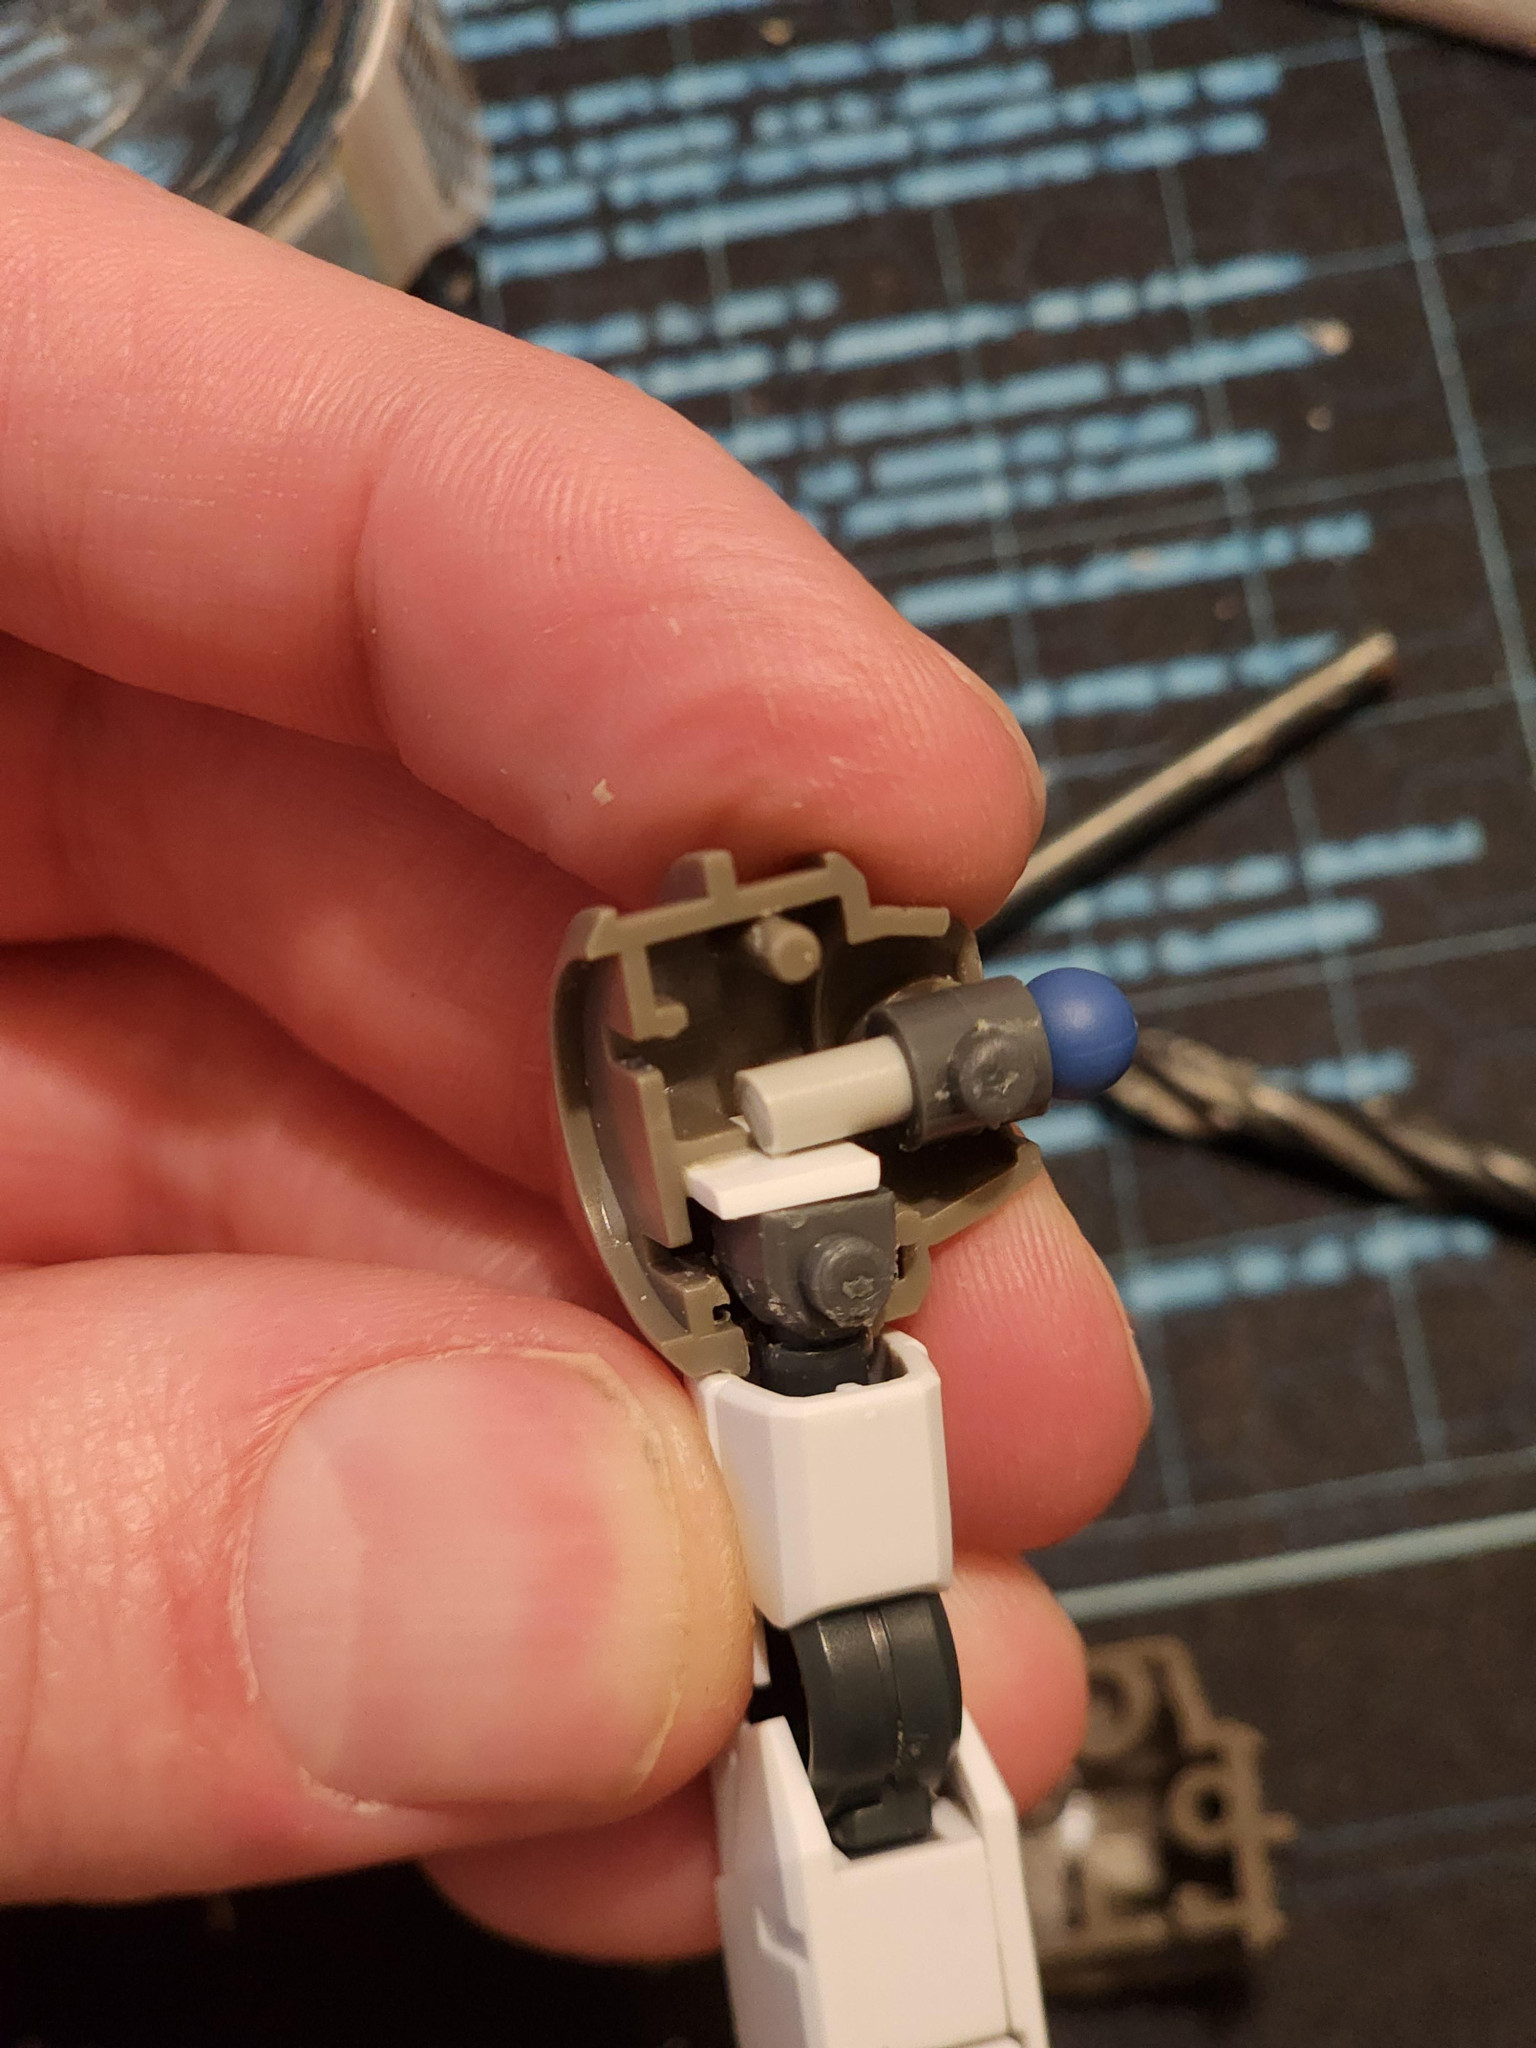
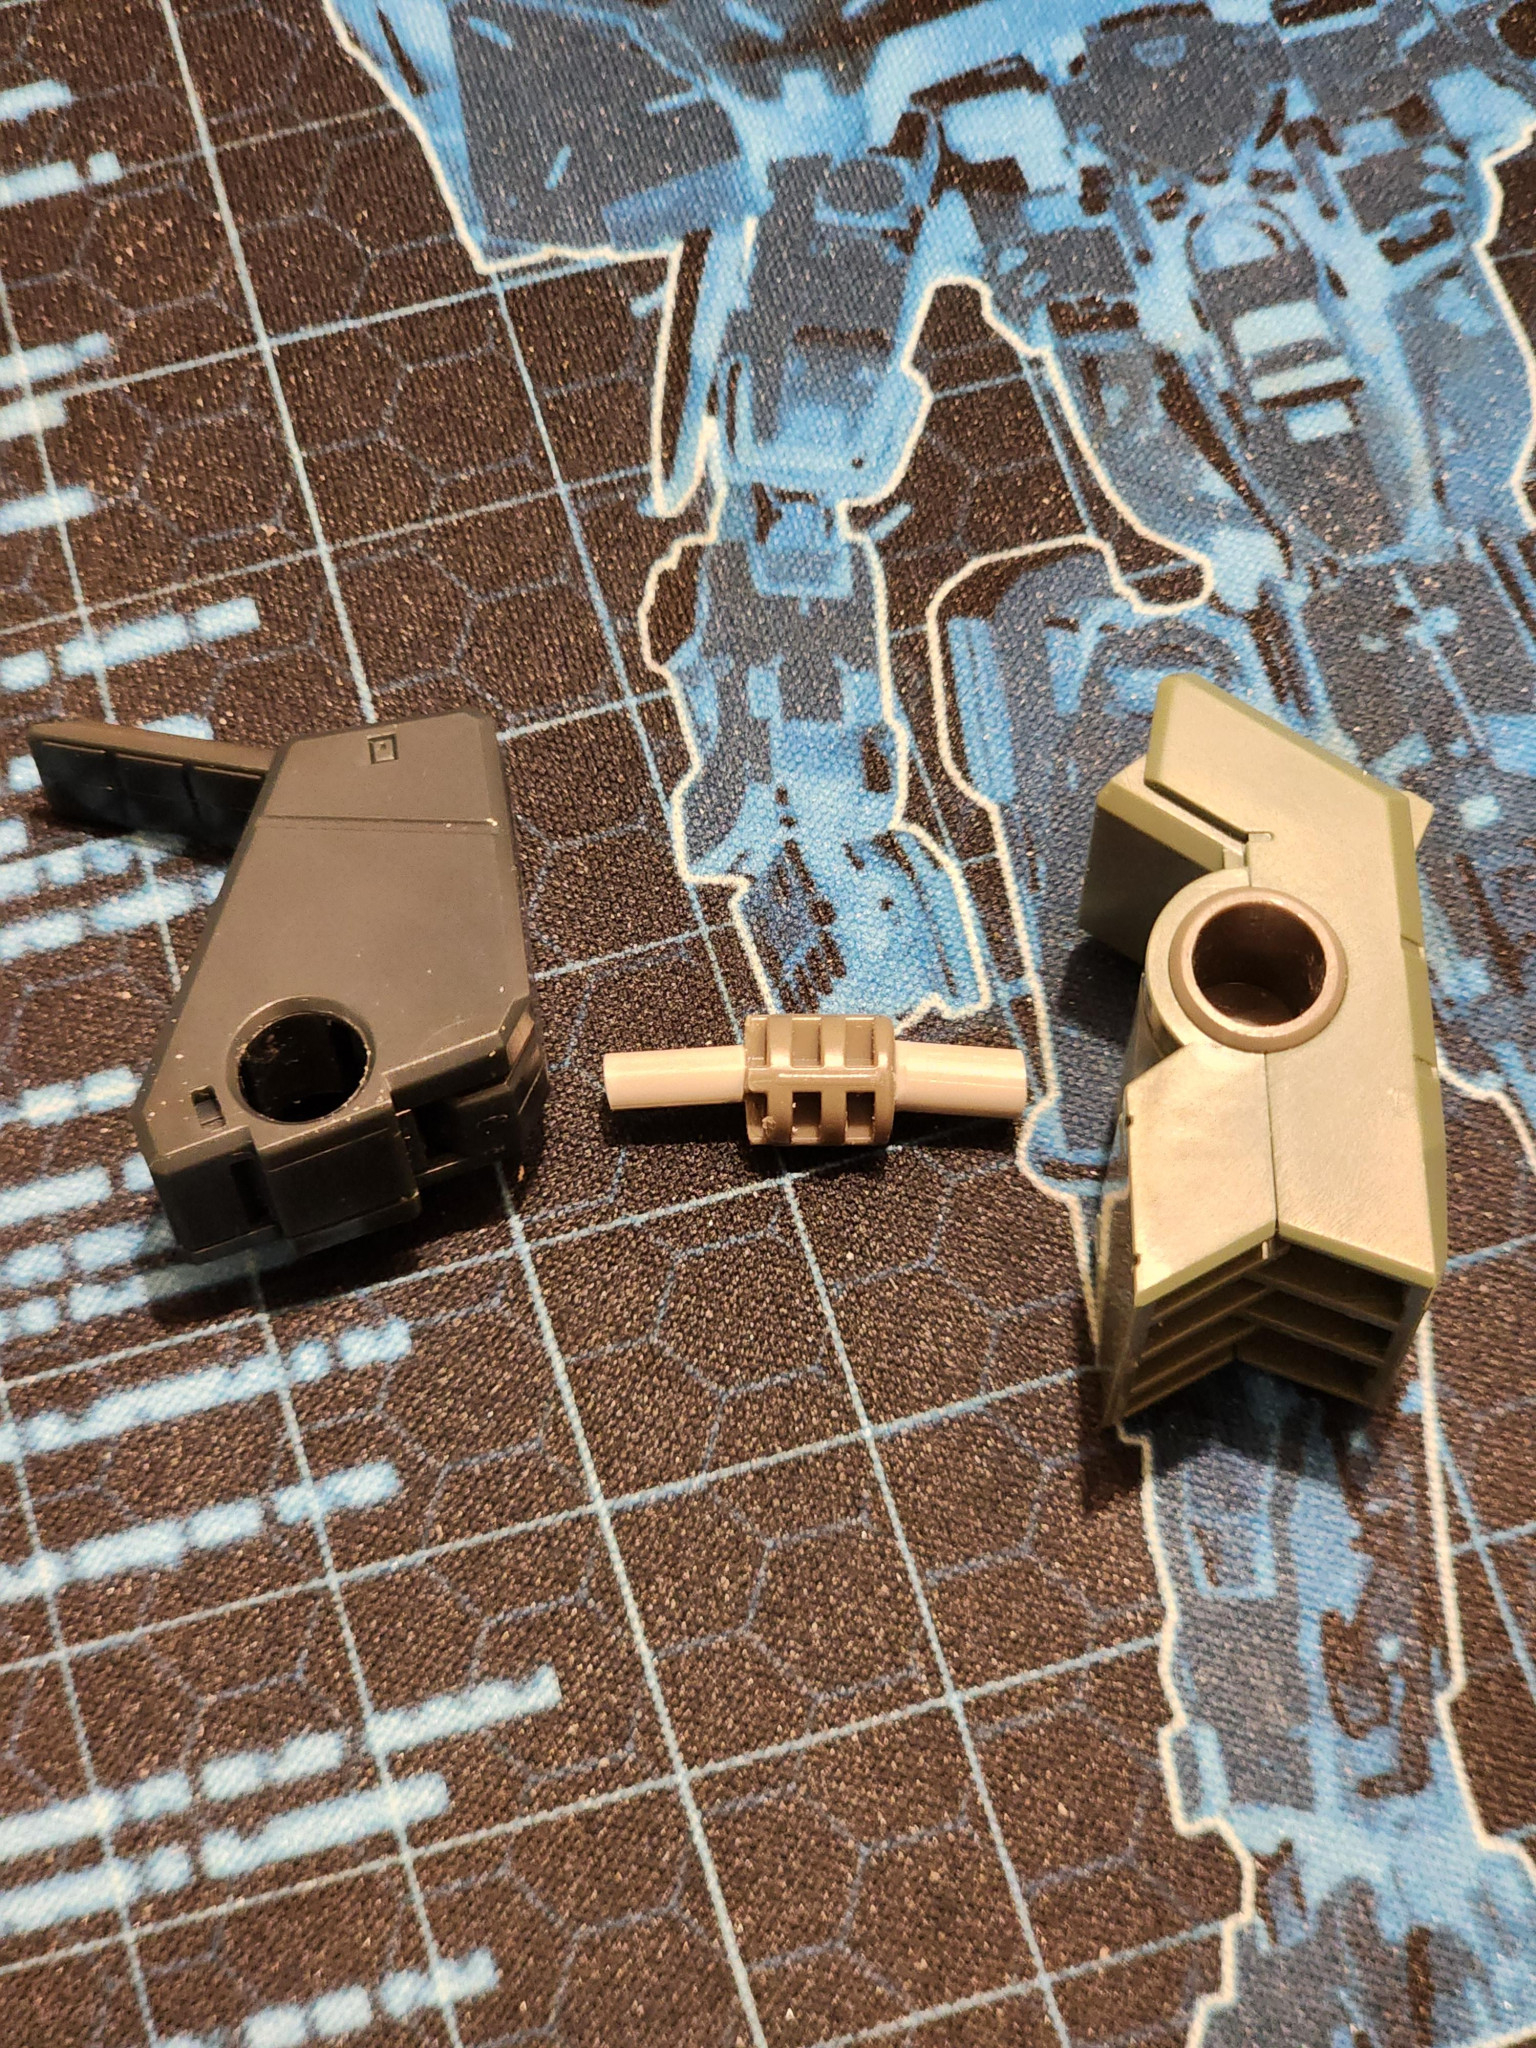
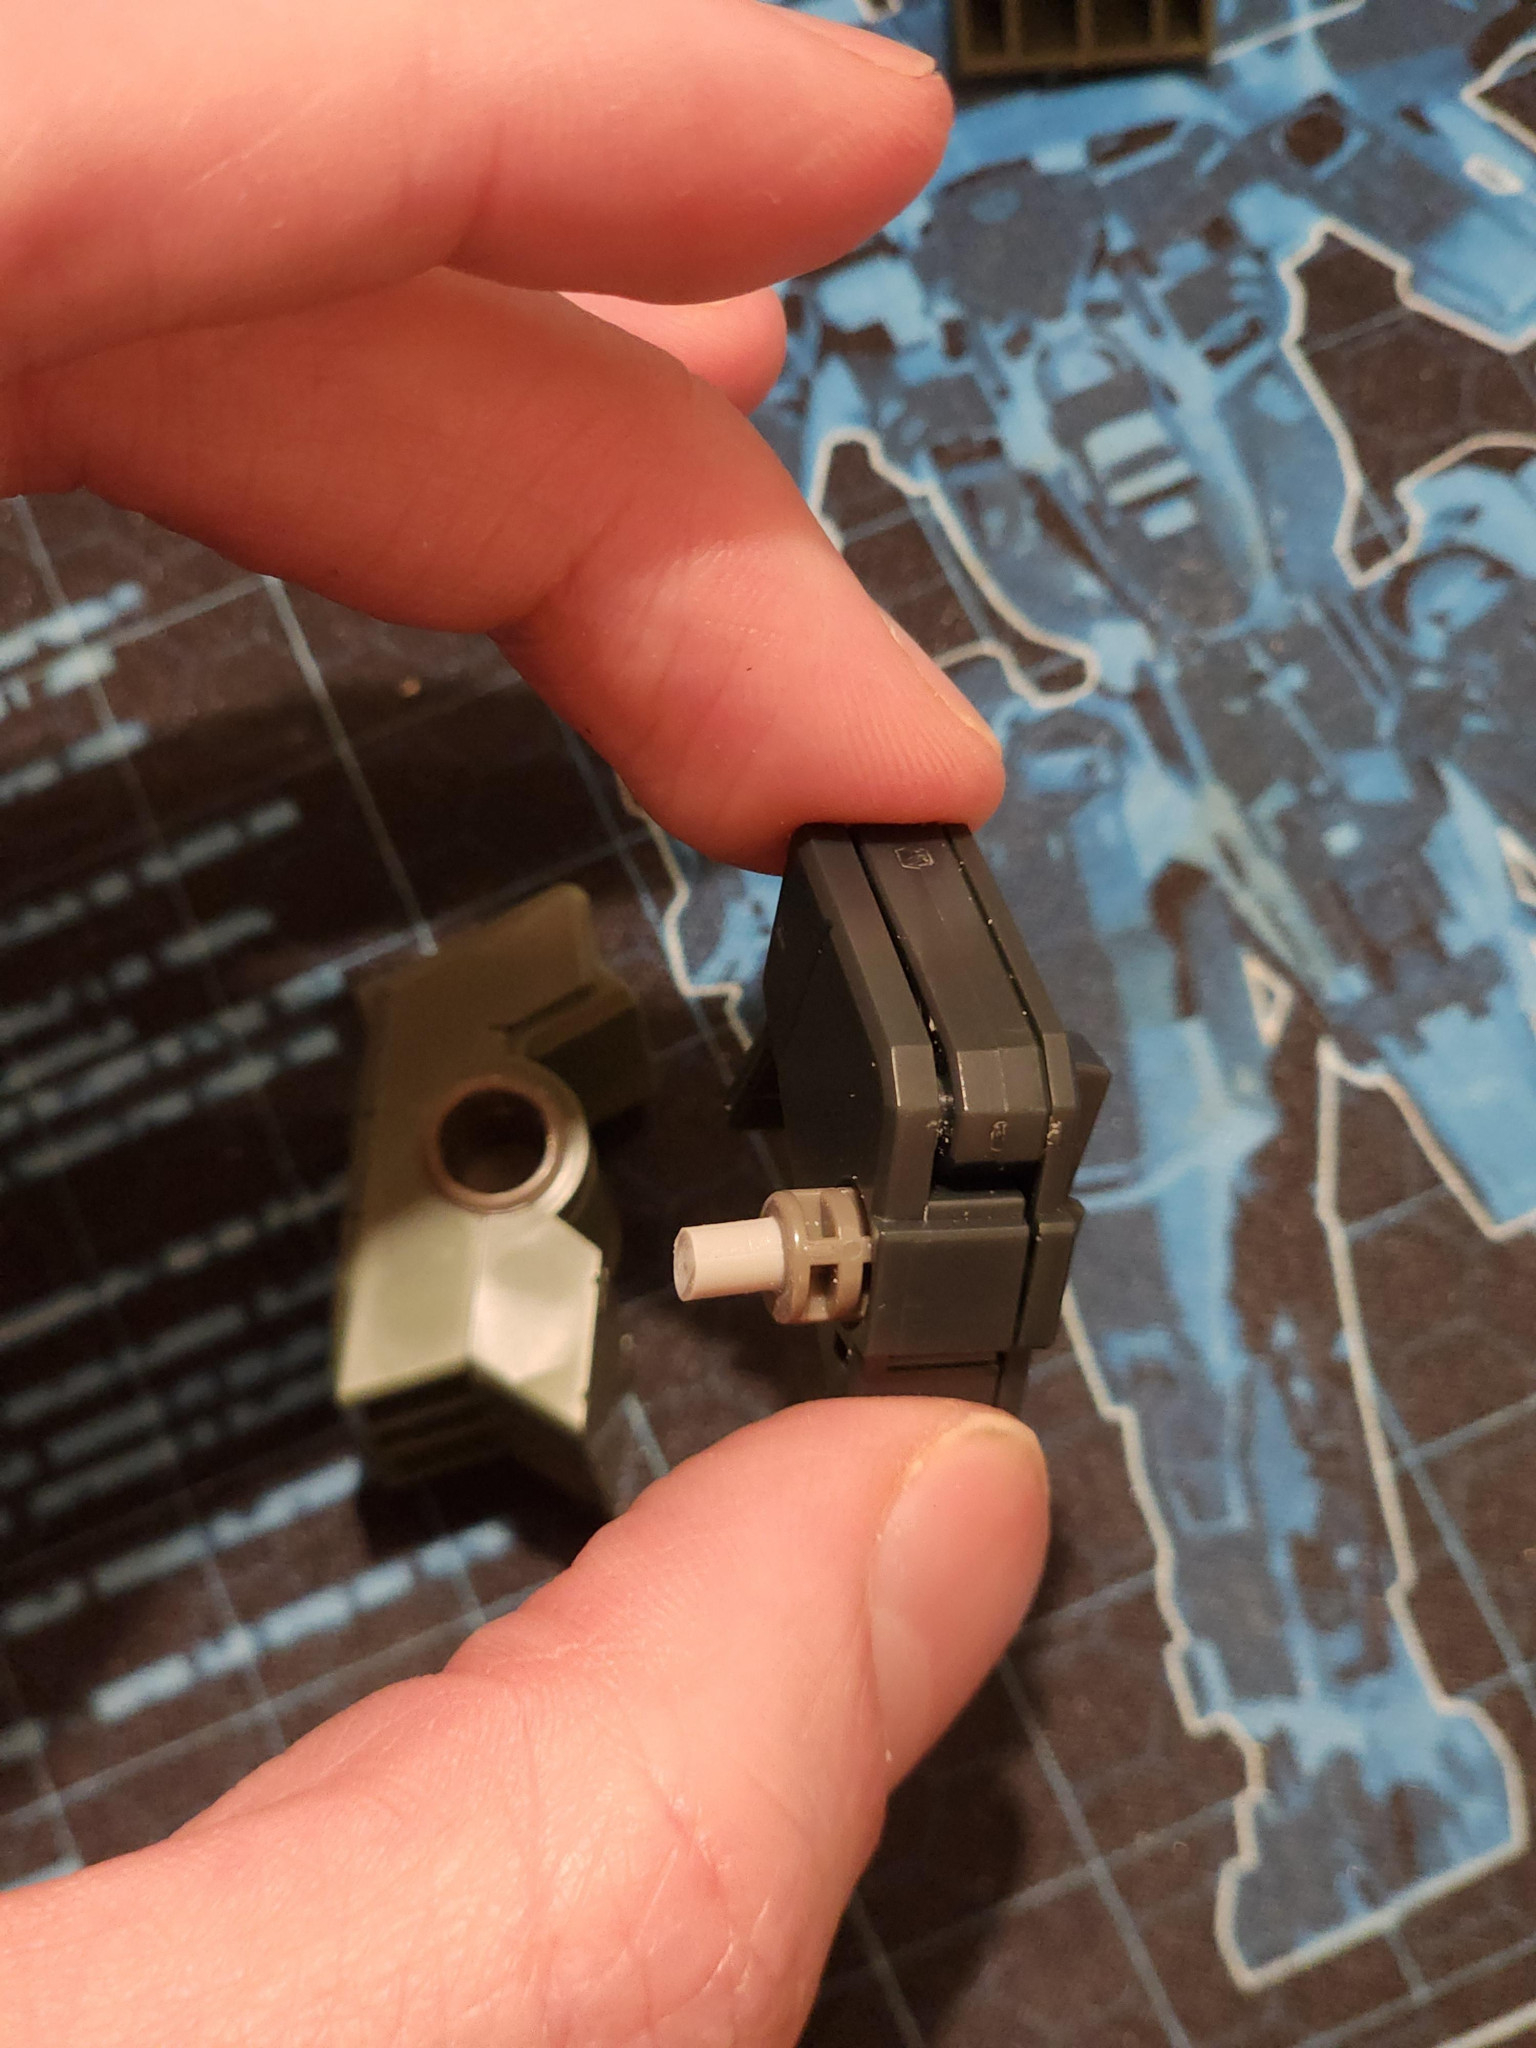
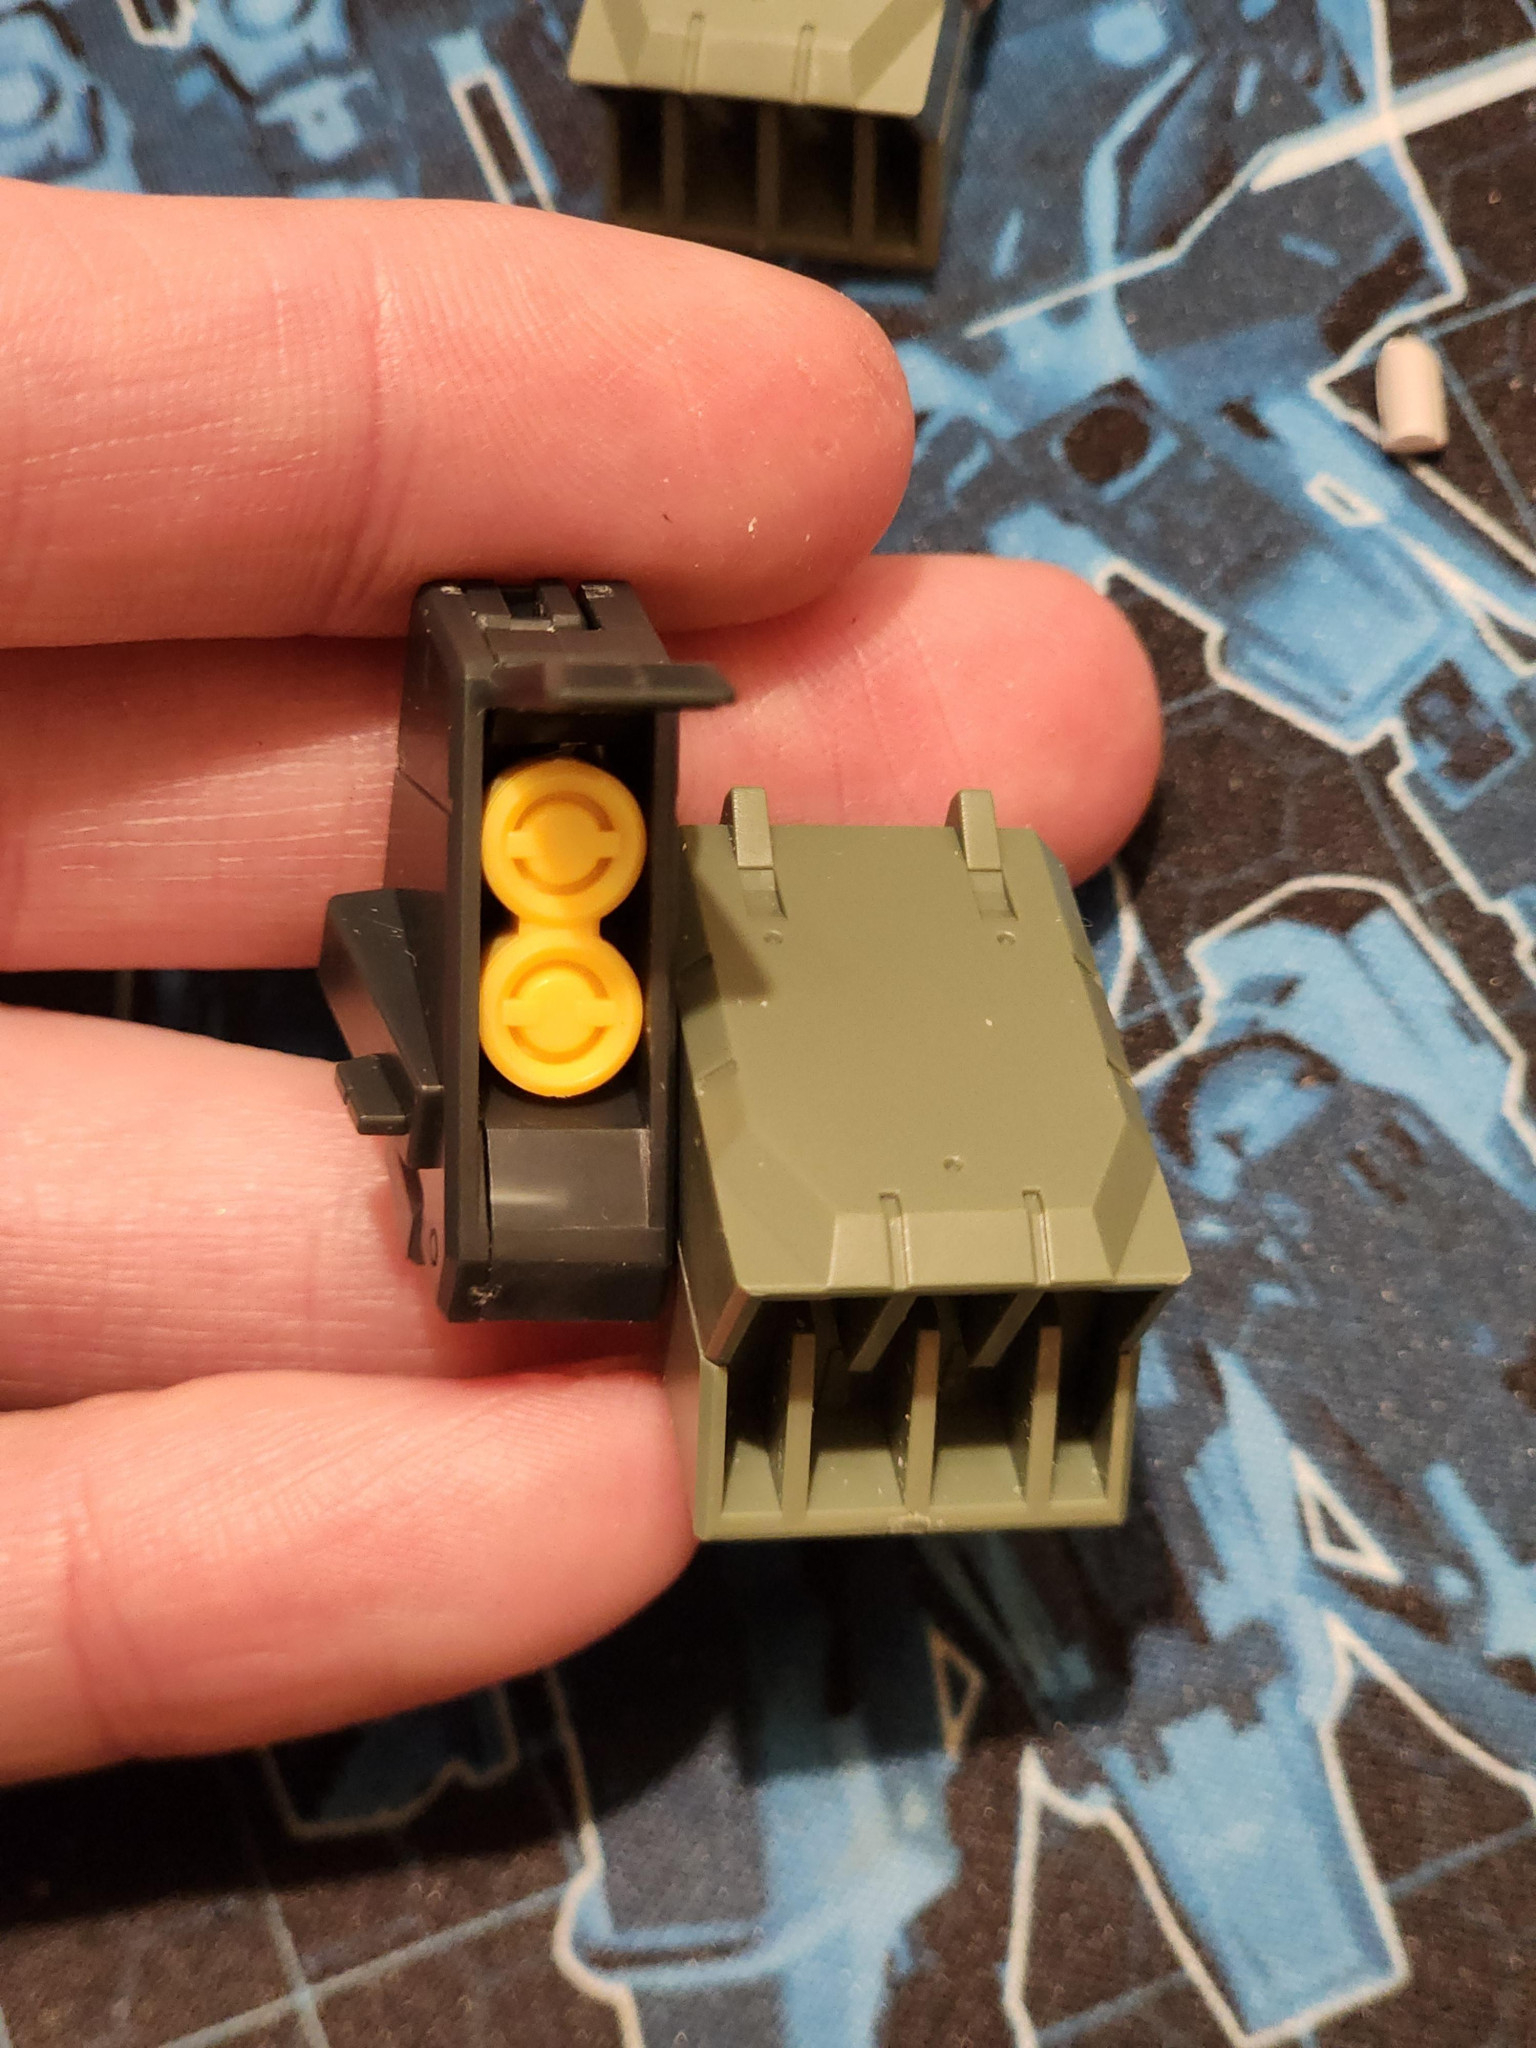

簡単にバランスをチェックして、いくつか変更することにしました。脚部については当初考えていたアイデアは却下になりました。作る手段がないからです。脚部に穴を開けて装甲を差し込むという簡単な方法を選びました。これで満足しています。GN-Xについて少し調べた後、翼だと思っていたものが実はデフレクターシールドだと気づきました。デフレクターシールドは廃棄し、バックパックを少し厚くすることにしました。デフレクターシールドを接続する唯一のパーツはとても小さいので、穴がかなり深いので中のパーツが失われるのではないかと心配でした。これが起こらないように、端にランナーエッジを貼りました。最後に、腕と肩に問題がありました。ポリキャップが肩の中で動き回っていました。これを解決するために、バリアとして機能するプレートを内側に貼り付けました。全て組み立てた後、とてもスタイリッシュに見えると思います。次は塗装の準備としてプライマーを塗ります。
I conducted a quick balance check an decided to change a couple of things. The original idea I had for the legs went out the window, I just dont have the means to create that. I opted for an easier method of drilling a hole into the leg and pluggin the armour in. Im happy with that. After reading a little about the GN-X I realise what I thought were wings are actually deflector shields. I chose to scrap them and bulk up the back pack some more. The only part I have to connect them is so small I was worried of losing the piece inside the holes as they are quite deep. I stuck some runner edge onto the ends to stop this from happening. Finally, I was having issues with the arms and shoulders. The poly cap kept moving around inside the shoulder. I remedied this by applying some plate inside to act as a barrier. After putting it all together I think it is looking stylish as hell. Now it’s time to apply a primer ready for painting.
コメント
コメントをして応援しよう
コメントにはログインが必要です
アップデートありがとうございます!
「理想」と「現実的な手段」のバランスを見極め、確実に形にしていく決断力、素晴らしいと思います。
特に、ポリキャップの固定やパーツの脱落防止など、現場でのリカバリー工作こそが完成後の安定感に繋がりますね。 デフレクターシールドを外してバックパックを厚くしたことで、さらにシルエットが引き締まったのではないでしょうか。
いよいよプライマー塗装ですね!色が統一されて、造形のディテールが浮かび上がる瞬間を楽しみにしています。
Thanks for the update! I really admire your decisiveness in balancing your original ideas with the means at hand to move forward. Practical fixes like stabilizing the polycaps and preventing parts from slipping are what truly ensure the quality of the final build. Removing the deflector shields to bulk up the backpack must have given the silhouette a much tighter, more stylish look. It’s finally time for primer! I can’t wait to see the details pop once the colors are unified.
ありがとうございます!次のステップがとても楽しみです。
Thank you! The next steps are so exciting.
私個人としてはこの作業段階が好きだったりします!
頑張ってください!
ありがとうございました!すべての瞬間を心から楽しみました。
Thank you! I have thoroughly enjoyed every moment.
こんにちは、イギリスから来ました。初めまして。ガンプラに真剣に取り組み始めて、かっこいいモデル作りを目指しています!
ガンプラコミュニティの皆さんと学び、成長し、共に没頭したいと思い、ここに来ました。主にHGキットのハンドペイントとカスタマイズに力を入れていきます。
申し訳ありませんが、日本語がわからないので、翻訳ツールを使って皆さんと繋がっています。
ありがとうございます。
Konnichiwa, I'm from the UK. It's nice to meet you. I have started to take Gunpla seriously and strive to make cool looking models!
I'm here because I want to learn, grow and immerse myself with a passionate Gunpla community. I will mainly focus on hand painting and customising HG kits.
I'm sorry I do not understand Japanese, I use translation tools to connect with you all.
Arigato.
PMX-000 メッサーラ Crimson Moon
ここに、クリムゾン・ムーン・メッサラをご紹介します。 I p…
HG スタークジェガン
この度、HGスターク・ジェガンをご紹介できることを大変嬉しく…
Cherudim X Striker
ついに完成したケルディム×ストライカーをお披露目できます。ぜ…
Gustav Karl (Scrublands ver.)
新しいグスタフ・カール・ハサウェイを見て、そのデザインがとて…