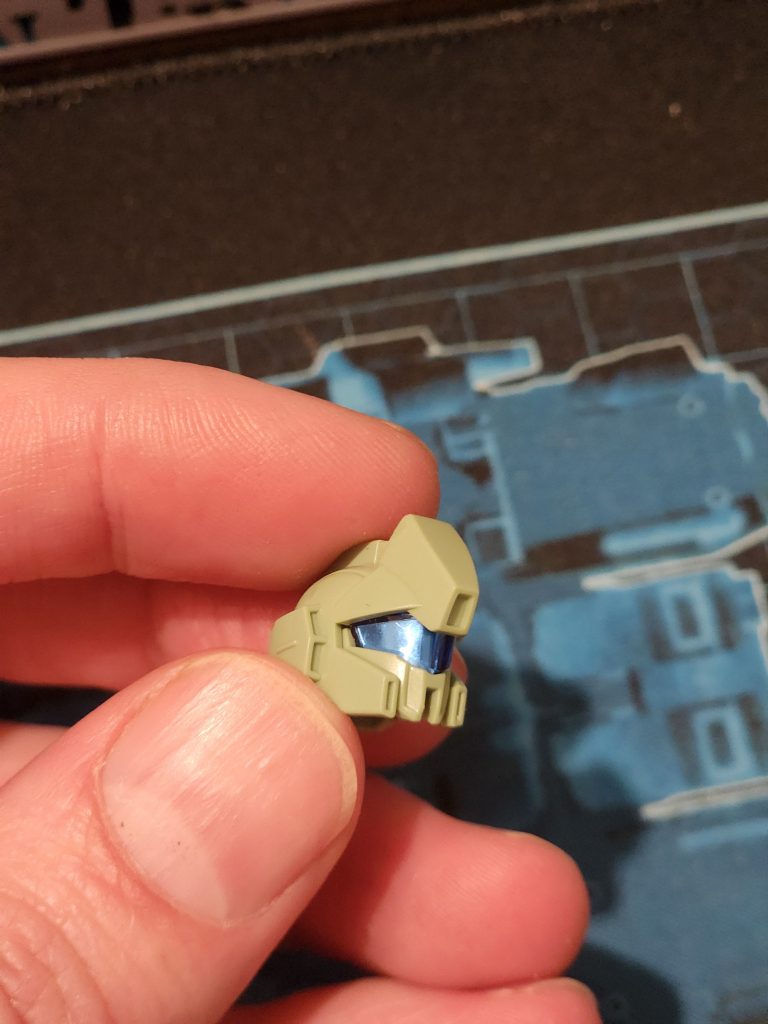

塗装前の細部をもう一度見てみましょう。
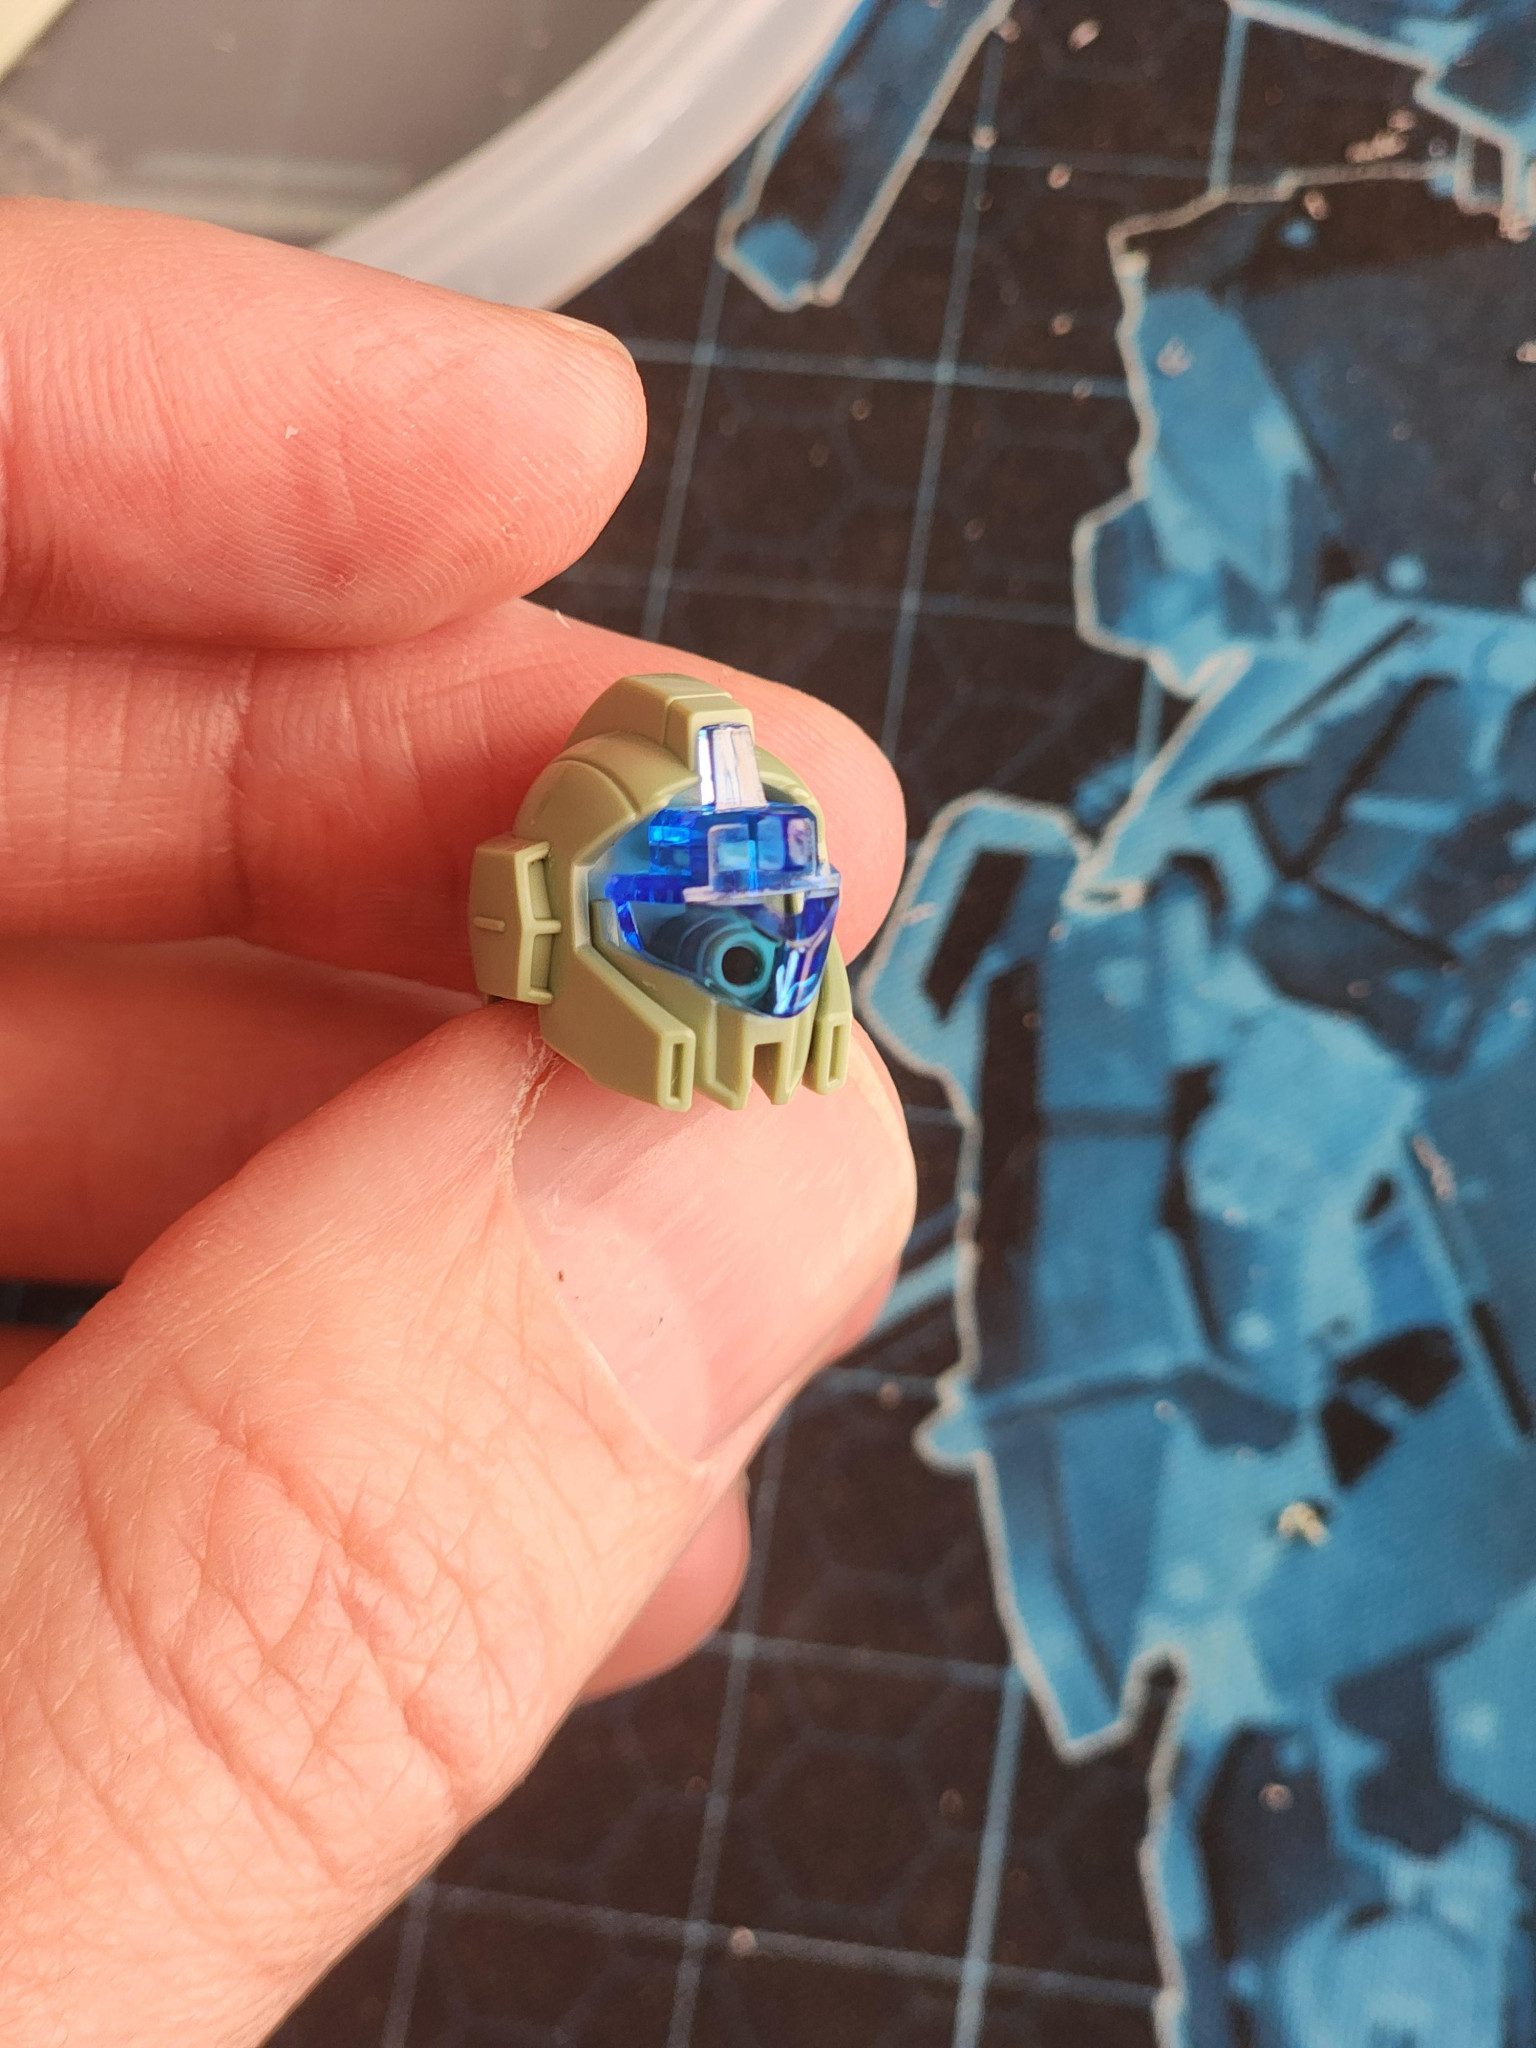
バイザーから見えるピンが気に入らなかったので、少し隠すことにしました。
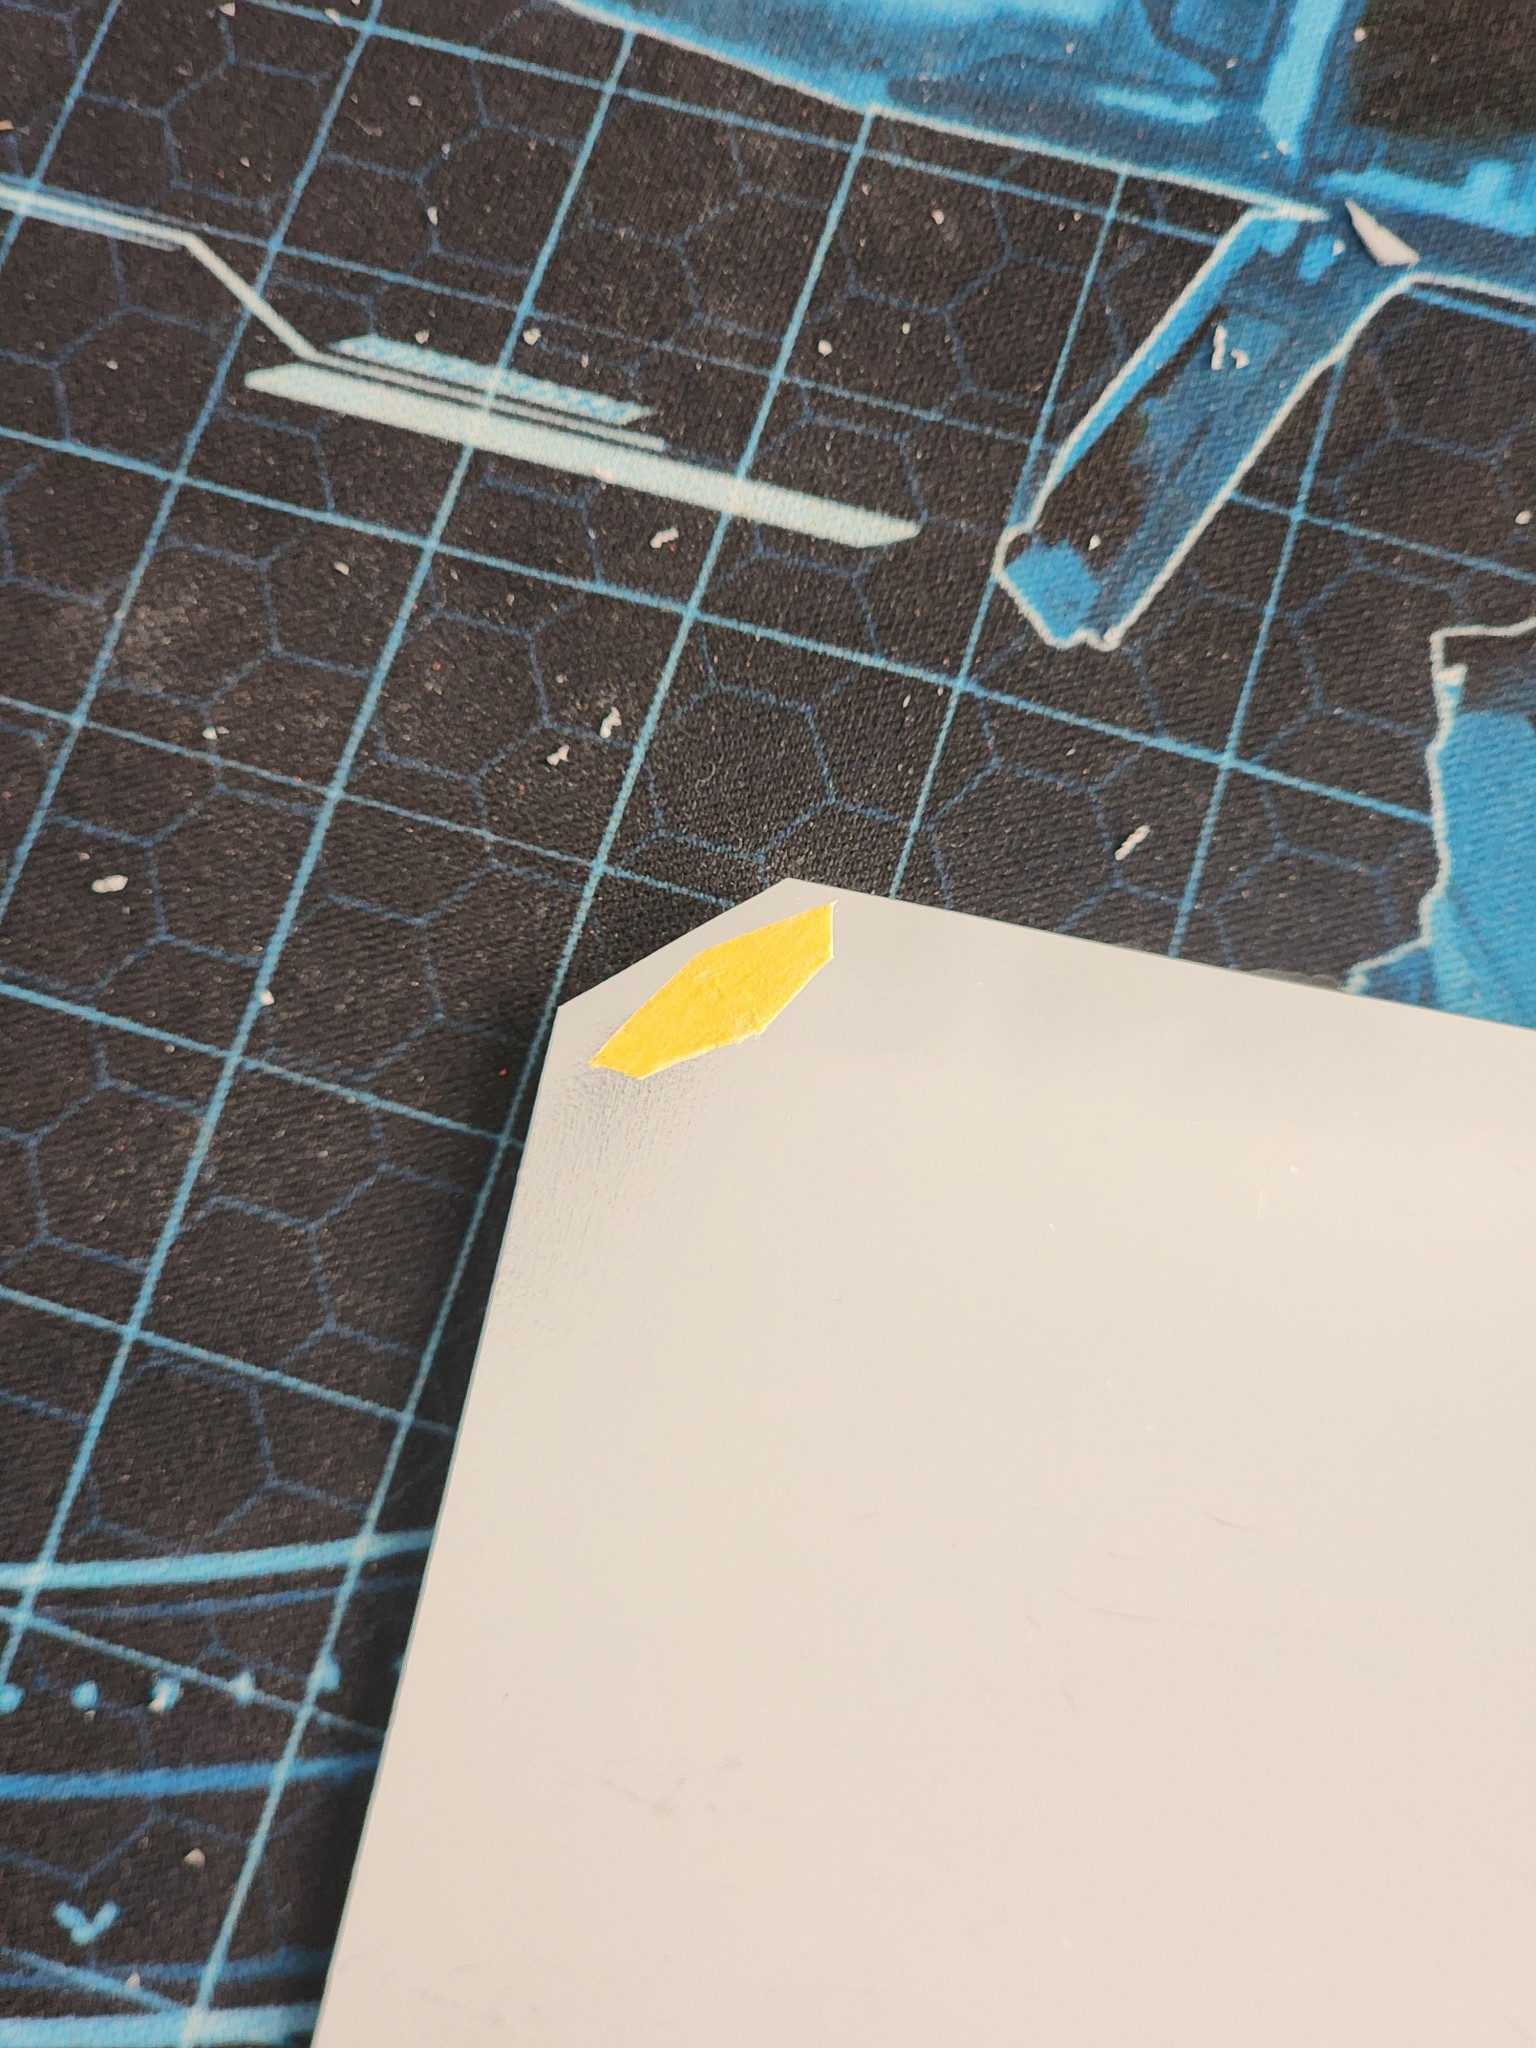
最初は塗装で隠そうと思ったのですが、たまたま高級クッキーの光沢のあるパッケージを見つけました。薄いプラスチックシートのようなものです。ラッキーでした!
マスキングテープを使ってバイザーの形を作り、切り抜いた後、銀色のプラスチックを頭部に押し込みました。
仕上がりは格段に良くなりましたよね?
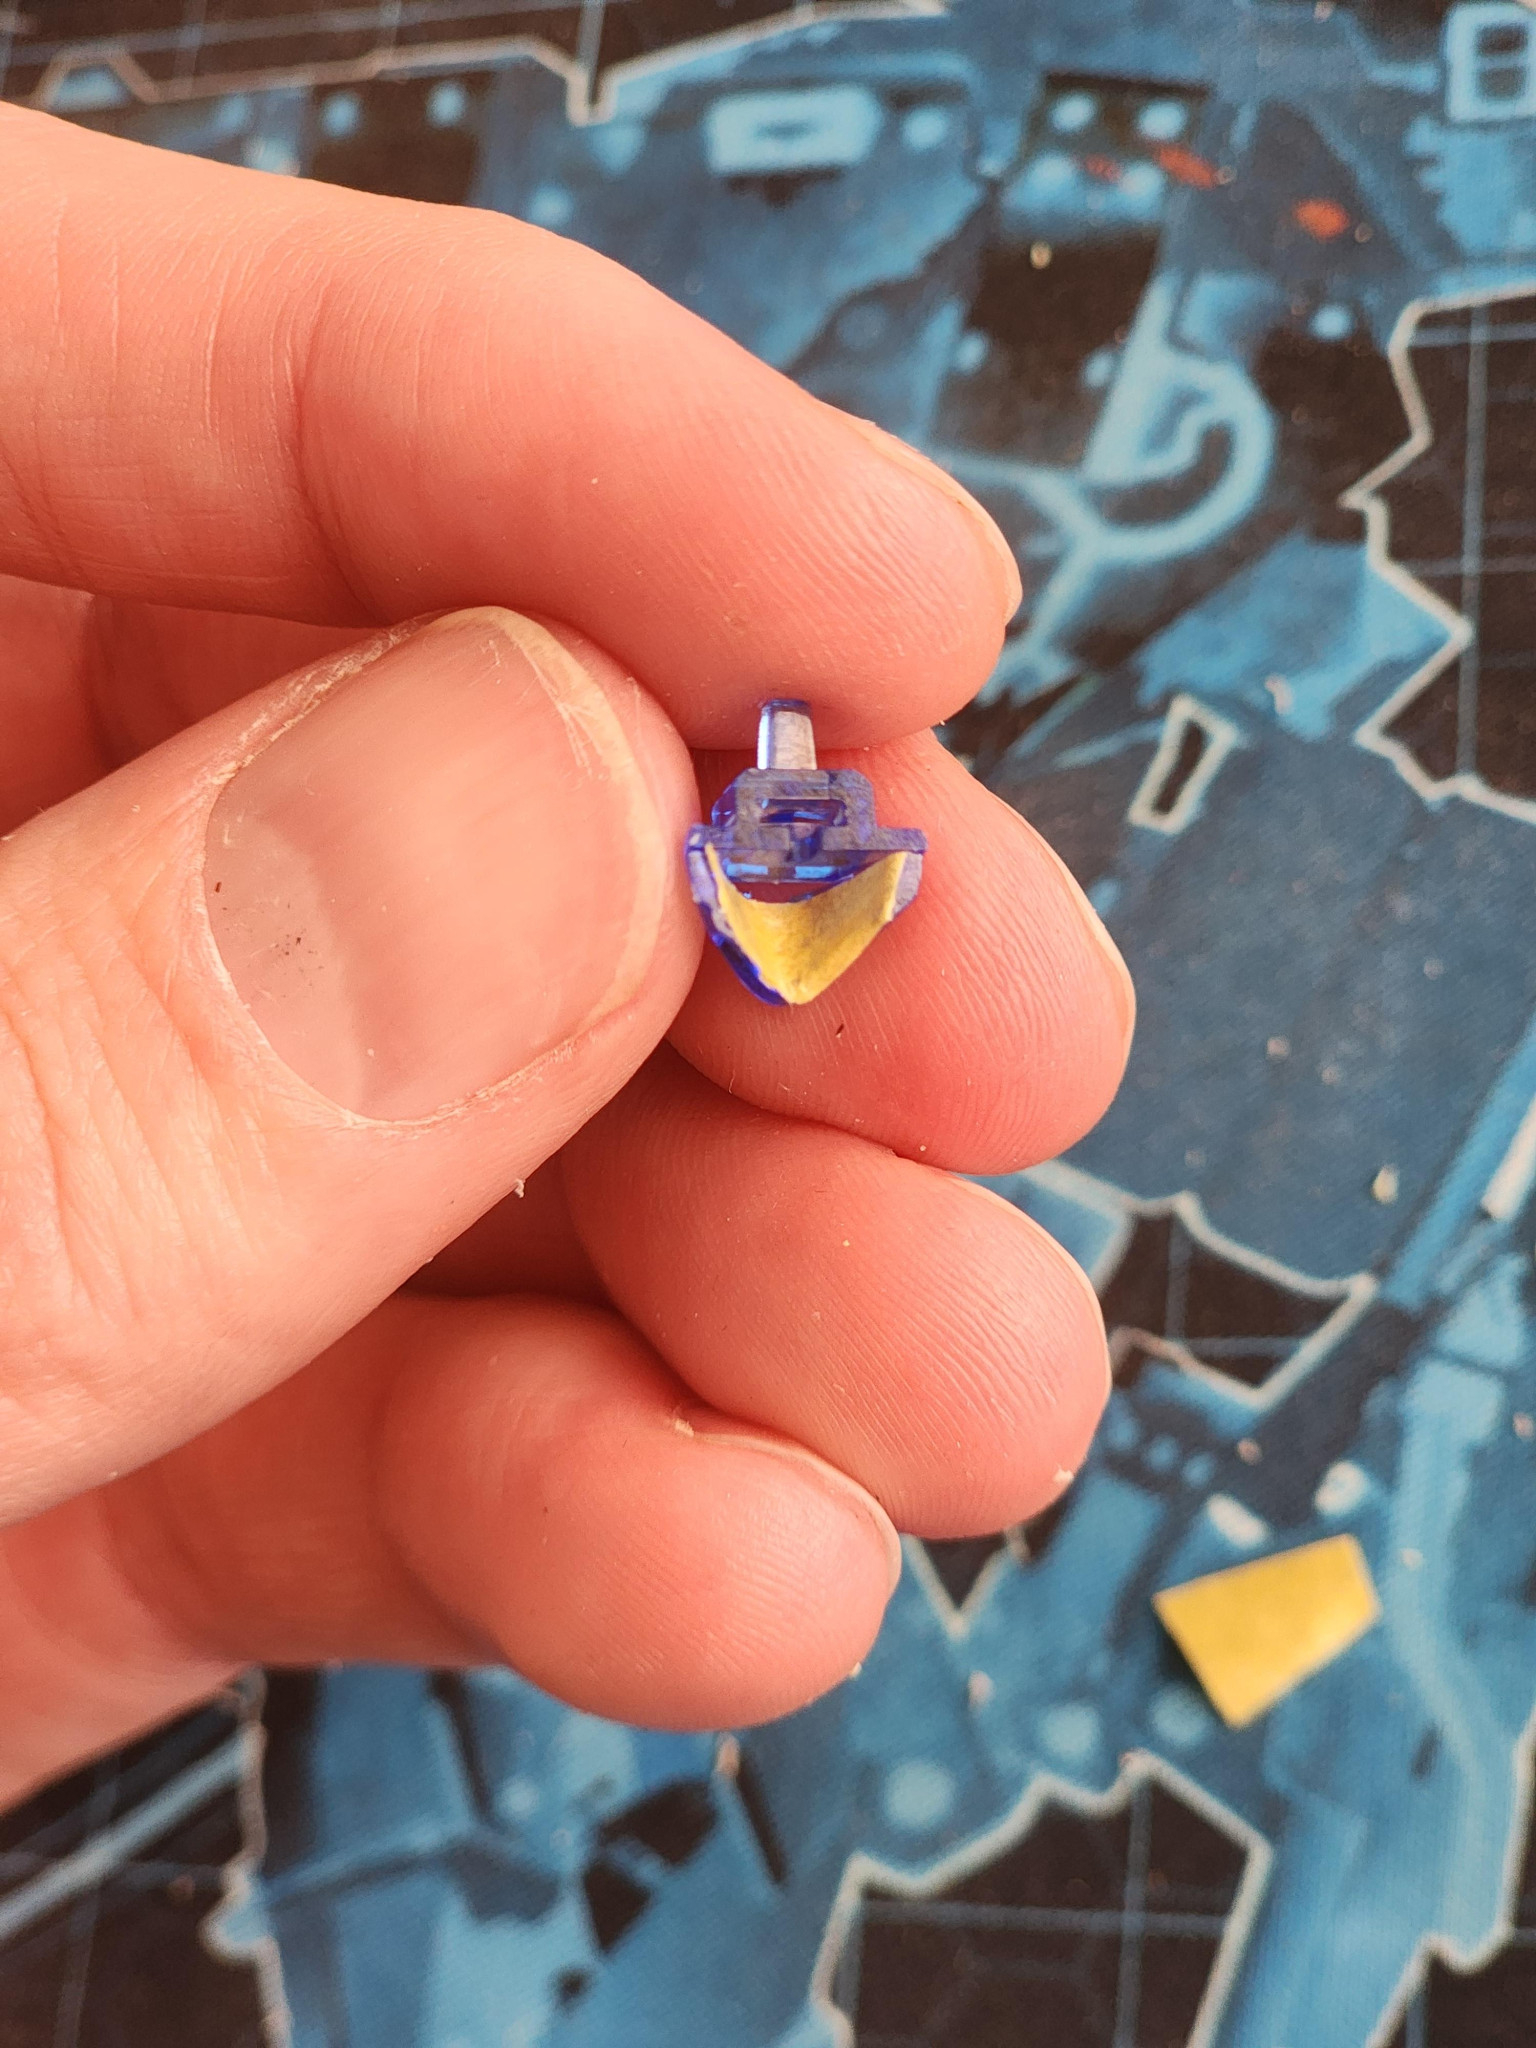
それから、バイザーの小さな接続部品をうっかり折ってしまいました。
テストのためにピンセットでバイザーを外そうと力を入れたのですが、滑ってしまい、部品が部屋を横切ってどこかへ飛んでいってしまいました。ああ、大変だ!塗装後に接着剤で直さなければ。
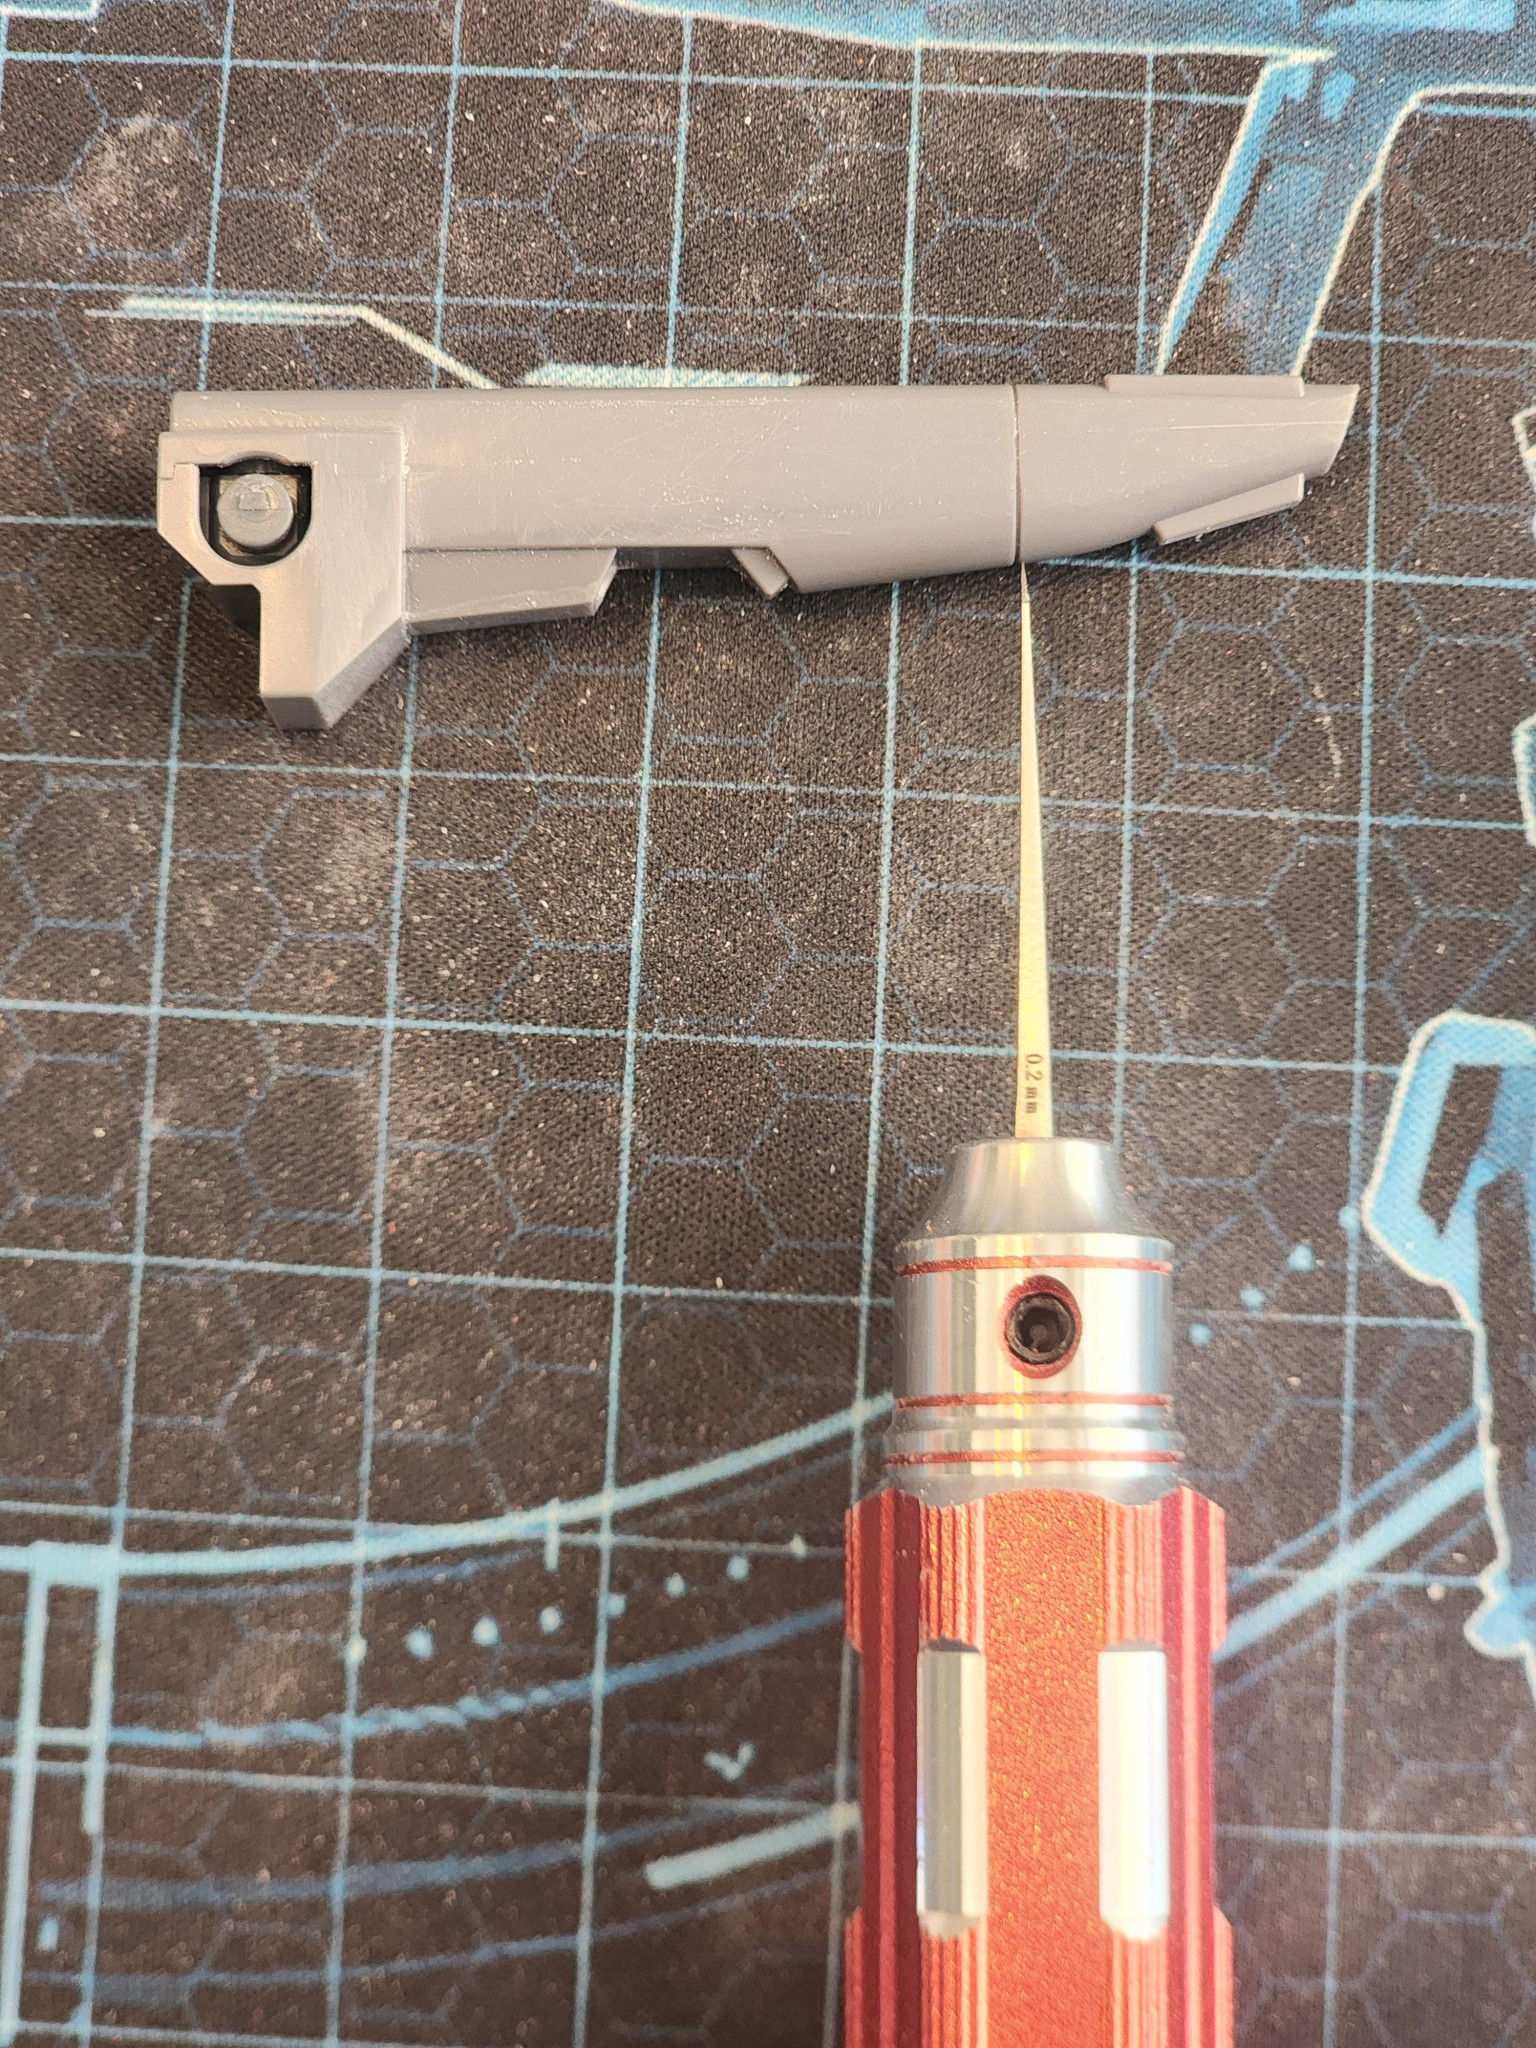
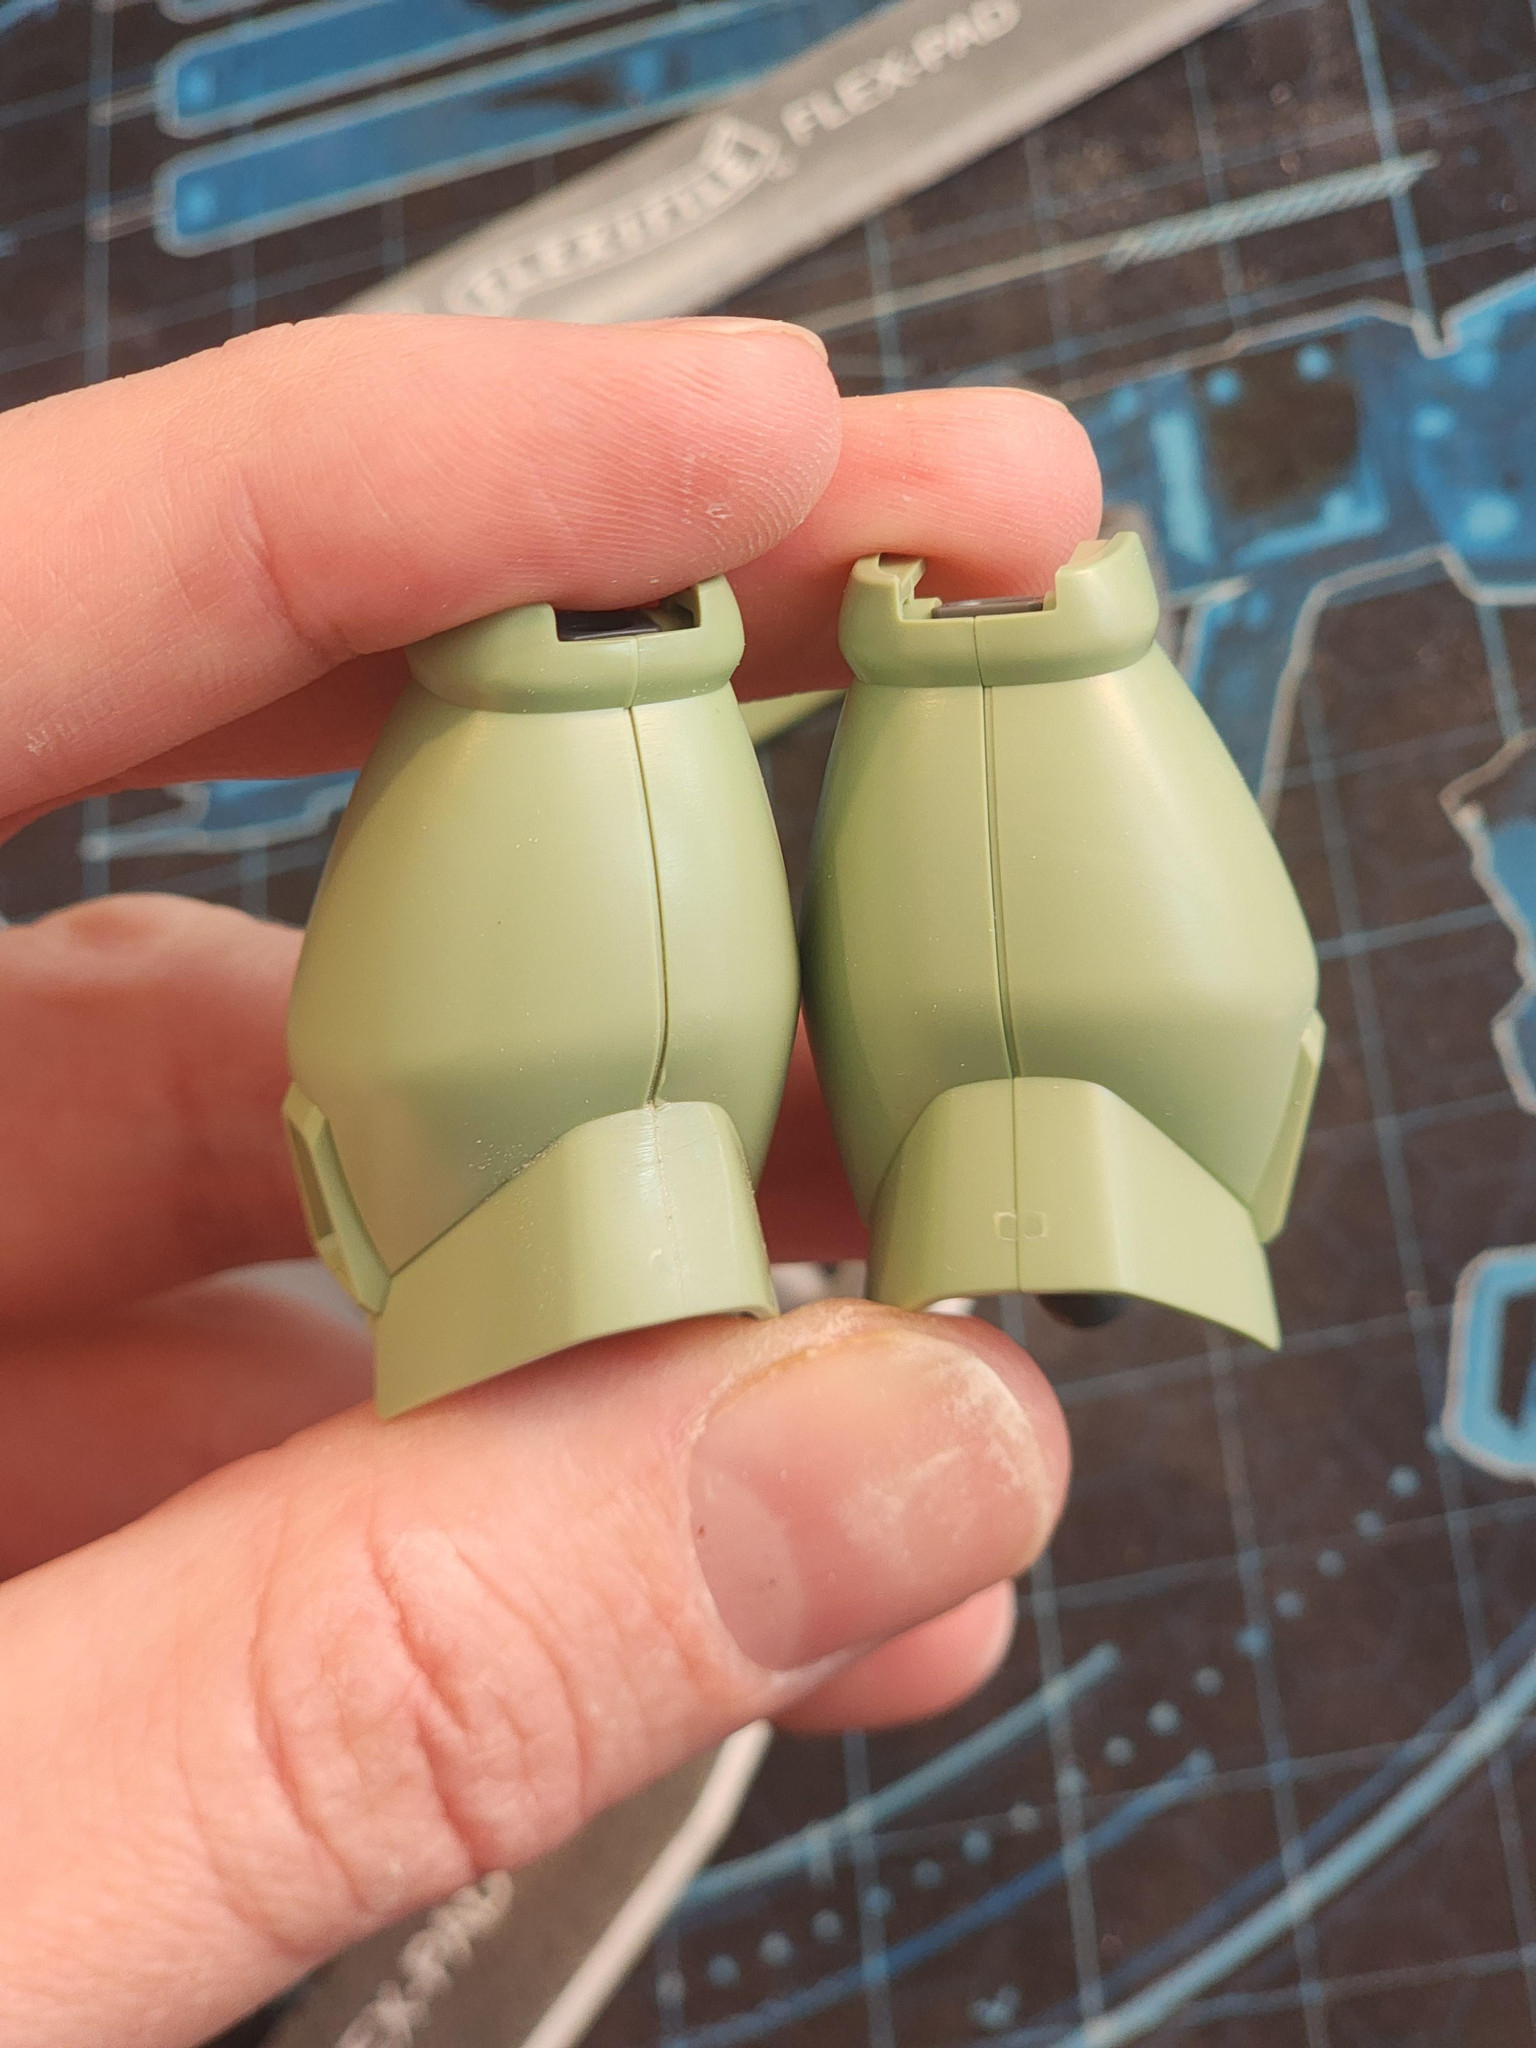
脚の裏側と後翼の継ぎ目も少し消してみました。翼のパネルラインが少し乱れていたので、きちんと彫り直しました。添付の写真は、脚部の彫り直し前後の比較です。
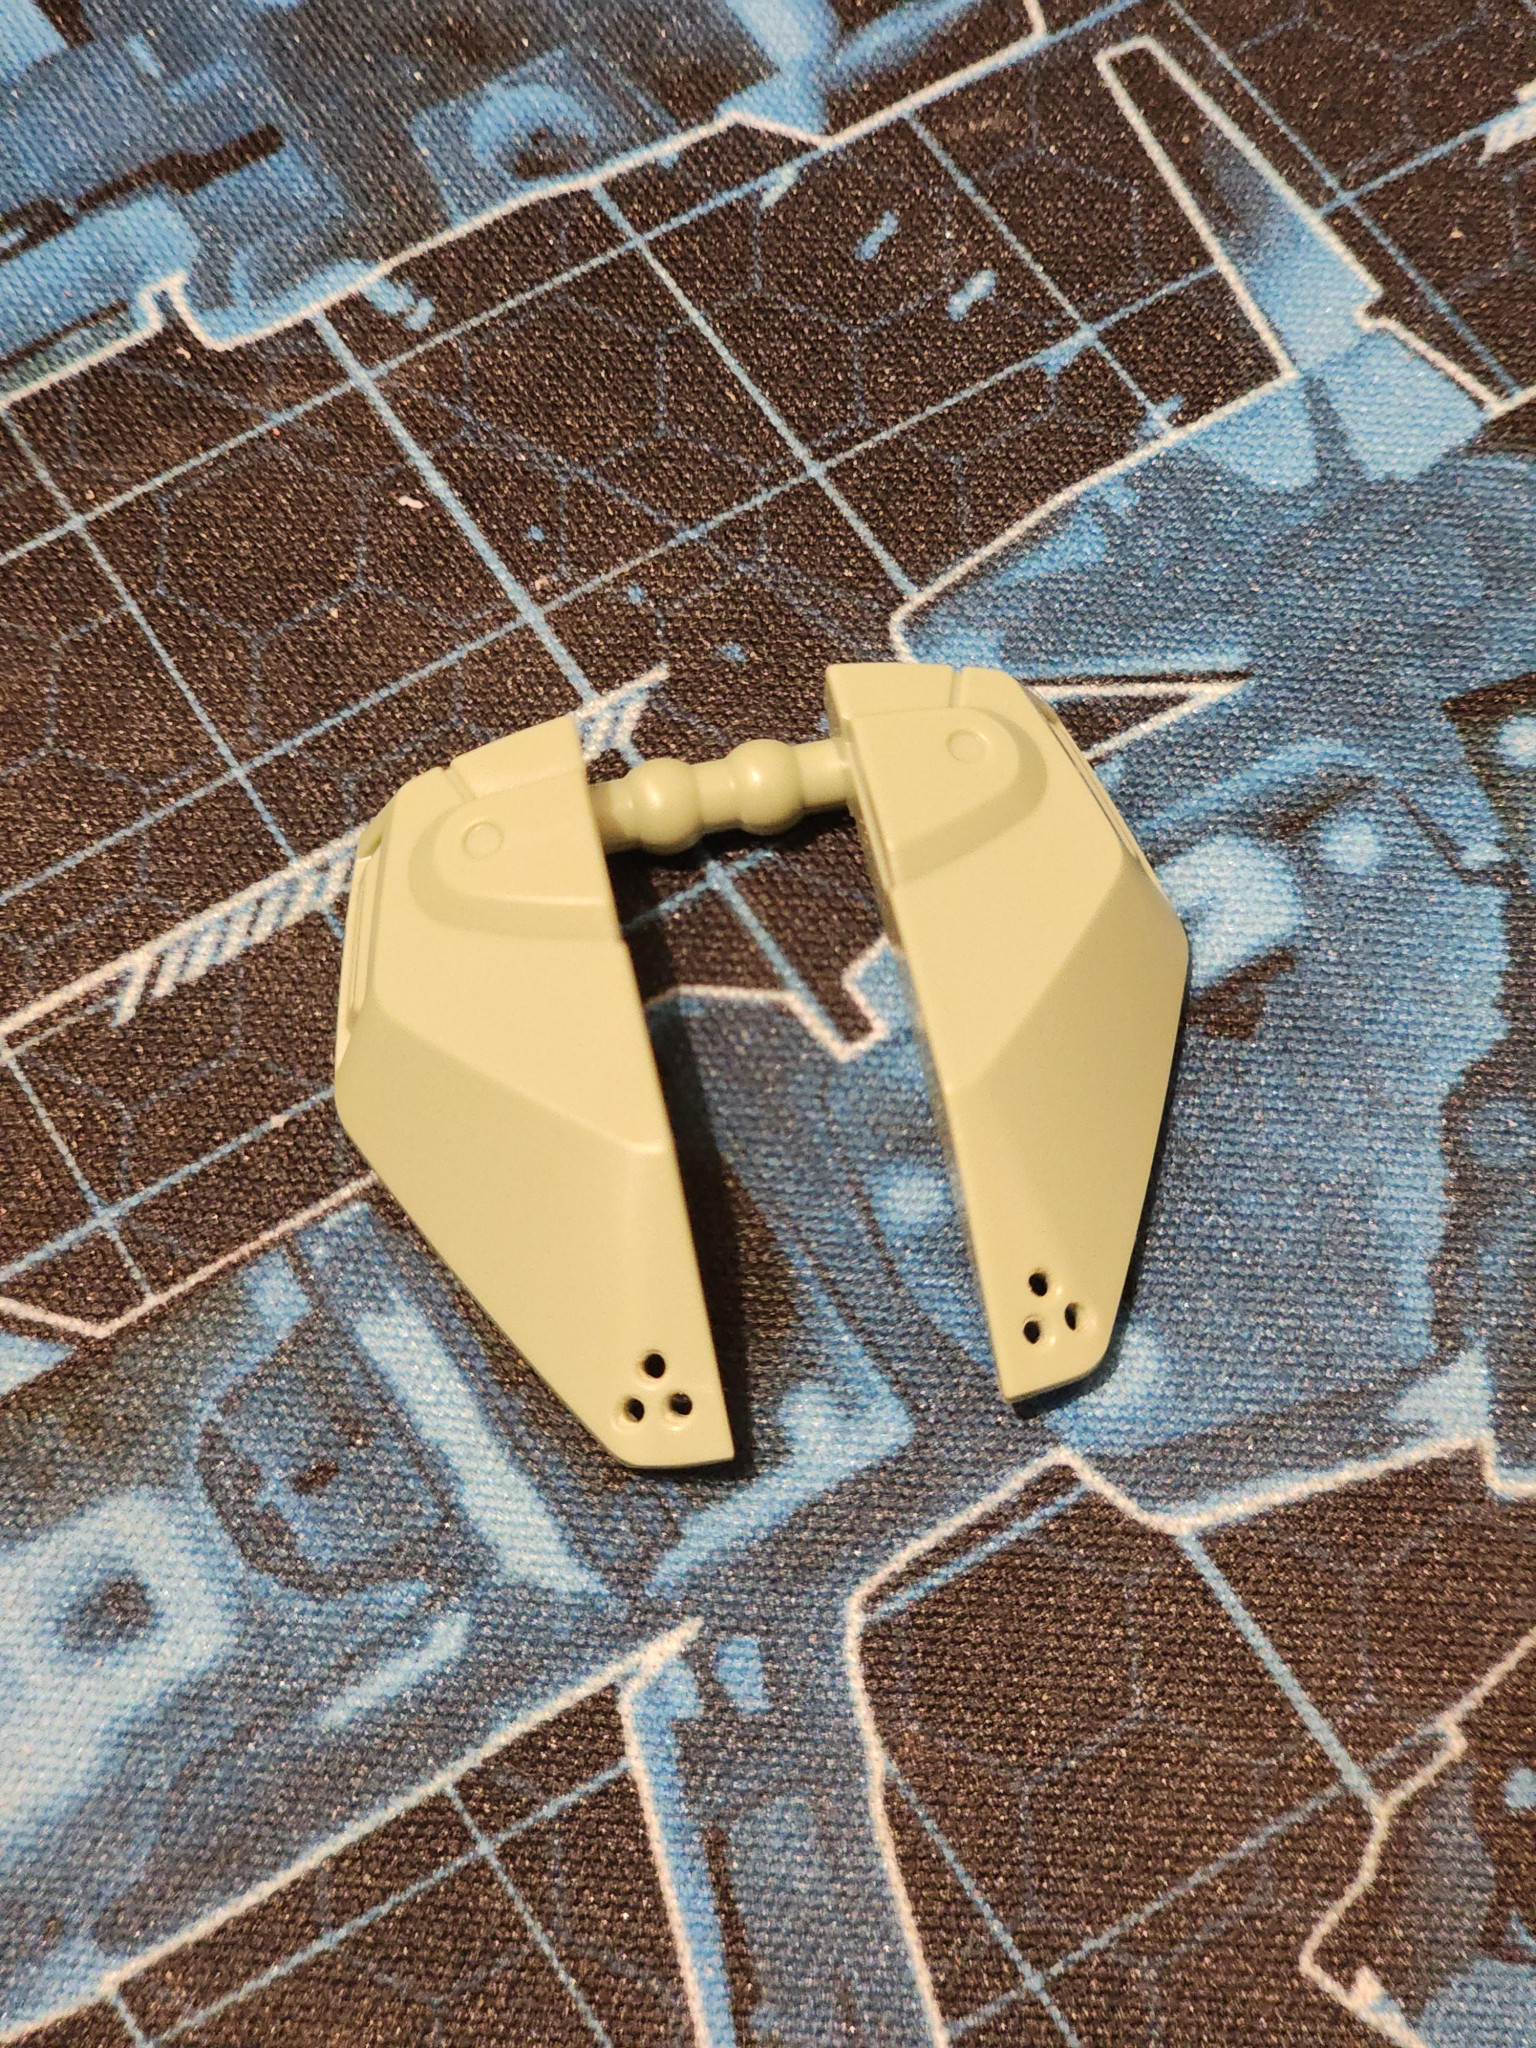
最後に、細部にさりげないディテールを加えるため、装甲の各所に穴を開けました。
–
Here is an extra look at some details before painting.
I’m not happy with the visible peg through the visor. I’ve decided to try and hide it a little.
At first I thought about doing this with paint but then I happened across some shiny packaging from some luxury cookies. It’s like a thin sheet of plastic. How lucky is that?
I used masking tape to try and achieve the shape of the visor. Once cut out, I squeeze the silver plastice into the head.
The result is so much more satisfying, don’t you think?
I also actidentally snapped a small connection piece from the visor.
I had to apply some force with tweezers to get the visor off after testing, they slipped and the damage was done. The piece went flying across the room, into the abyss. Oh man! I’ll have to glue it after painting.
I’ve also tried some more seem removal on the backs of legs and on the back wing. I made sure to rescribe the panel line on the wing as it got a bit messy. The photo attached here shows a before and after of the legs.
Finally, to add subtle detail I decided to drill some holes on various parts of the armour.
コメント
コメントをして応援しよう
コメントにはログインが必要です
Octordenさん、進捗の共有ありがとうございます!
バイザーの加工にクッキーの包装紙を使うアイデア、素晴らしいですね。身近な素材から「光を拾う質感」を見つけ出す観察眼に、モデラーとしてのセンスを感じます。
パーツの破損はショックだったと思いますが、それもまた「究極の一作」へ向かうための大切な経験ですね。彫り直しや継ぎ目消しといった丁寧な基本工作が、塗装後の仕上がりを劇的に変えてくれるはずです。完成を楽しみにしています!
Thank you for the update, Octorden! Your idea of using cookie packaging for the visor is brilliant. It really shows your keen eye as a modeler to find the perfect “reflective texture” in everyday materials. I’m sorry to hear about the broken part, but I believe even those accidents are valuable steps toward your “ultimate piece.” Your meticulous work on the seam lines and panel lines will undoubtedly make the final paint job look incredible. Can’t wait to see the result!
いつも貴重なご意見をありがとうございます。とても励みになります。実は制作は数歩進んでいます。更新が少し遅れていますが、既に絵を描き始めています。完成を楽しみに待ってくださっているとのこと、嬉しいです。今後の更新もお楽しみに。
Thank you so much for always sharing an insightful comment. It fills me with motivation. I am actually a couple of steps ahead in the process. My updates are slightly delayed. I’m already in the painting stage. I’m happy you are looking forward to the final piece, please stay tuned for more updates.
Octordenさん、やはり既に塗装工程に入られていたのですね!
「数歩先を進んでいる」という言葉に、制作の勢いを感じてワクワクします。丁寧な下地作りを経て、あのカラーモックアップがどのように実際の機体に宿っていくのか、今から楽しみでなりません。
更新はOctordenさんのペースで大丈夫ですよ。驚きと発見に満ちた「究極の一作」へのプロセスを、引き続き楽しんでください!
I knew it! It’s exciting to hear that you’re already in the painting stage, Octorden. Your comment about being “a couple of steps ahead” really shows the great momentum behind this project. I’m so looking forward to seeing how your color mockup comes to life on the actual model after all that meticulous preparation. Please take your time with the updates—just go at your own pace. Keep enjoying the process toward your “ultimate piece,” and I can’t wait to see more!
こんにちは、イギリスから来ました。初めまして。ガンプラに真剣に取り組み始めて、かっこいいモデル作りを目指しています!
ガンプラコミュニティの皆さんと学び、成長し、共に没頭したいと思い、ここに来ました。主にHGキットのハンドペイントとカスタマイズに力を入れていきます。
申し訳ありませんが、日本語がわからないので、翻訳ツールを使って皆さんと繋がっています。
ありがとうございます。
Konnichiwa, I'm from the UK. It's nice to meet you. I have started to take Gunpla seriously and strive to make cool looking models!
I'm here because I want to learn, grow and immerse myself with a passionate Gunpla community. I will mainly focus on hand painting and customising HG kits.
I'm sorry I do not understand Japanese, I use translation tools to connect with you all.
Arigato.
PMX-000 メッサーラ Crimson Moon
ここに、クリムゾン・ムーン・メッサラをご紹介します。 I p…
HG スタークジェガン
この度、HGスターク・ジェガンをご紹介できることを大変嬉しく…
Cherudim X Striker
ついに完成したケルディム×ストライカーをお披露目できます。ぜ…
Gustav Karl (Scrublands ver.)
新しいグスタフ・カール・ハサウェイを見て、そのデザインがとて…